


New Sourdough Boule
Yet another sourdough recipe

I've been baking sourdough bread pretty much weekly since 2019. In that time, my techniques and recipe choices have changed, though I wouldn't say my methods have evolve. It's more of a simplification - the less time I have available, the easier the process needs to become in order to get bread on the table every week.

My father-in-law enjoys having the same thing for breakfast every day, which always includes a slice of buttered sourdough bread. The low sodium multigrain sourdough bread recipe was meant to copy the bread that he used to buy from a local farm store, before he moved in with my husband and me. Life kept getting busier. Eventually, I needed to streamline my bread making operation, so I switched over to the Super Easy Sourdough Bread recipe, featured below, in the “Ancestral Sourdough Cultures” post:
Ancestral Sourdough Cultures

My mother-in-law died in 2019 after a short struggle with a horrible illness. At one point, she called me to her bedside to extract a promise that I would track down and then continue to maintain all of her …
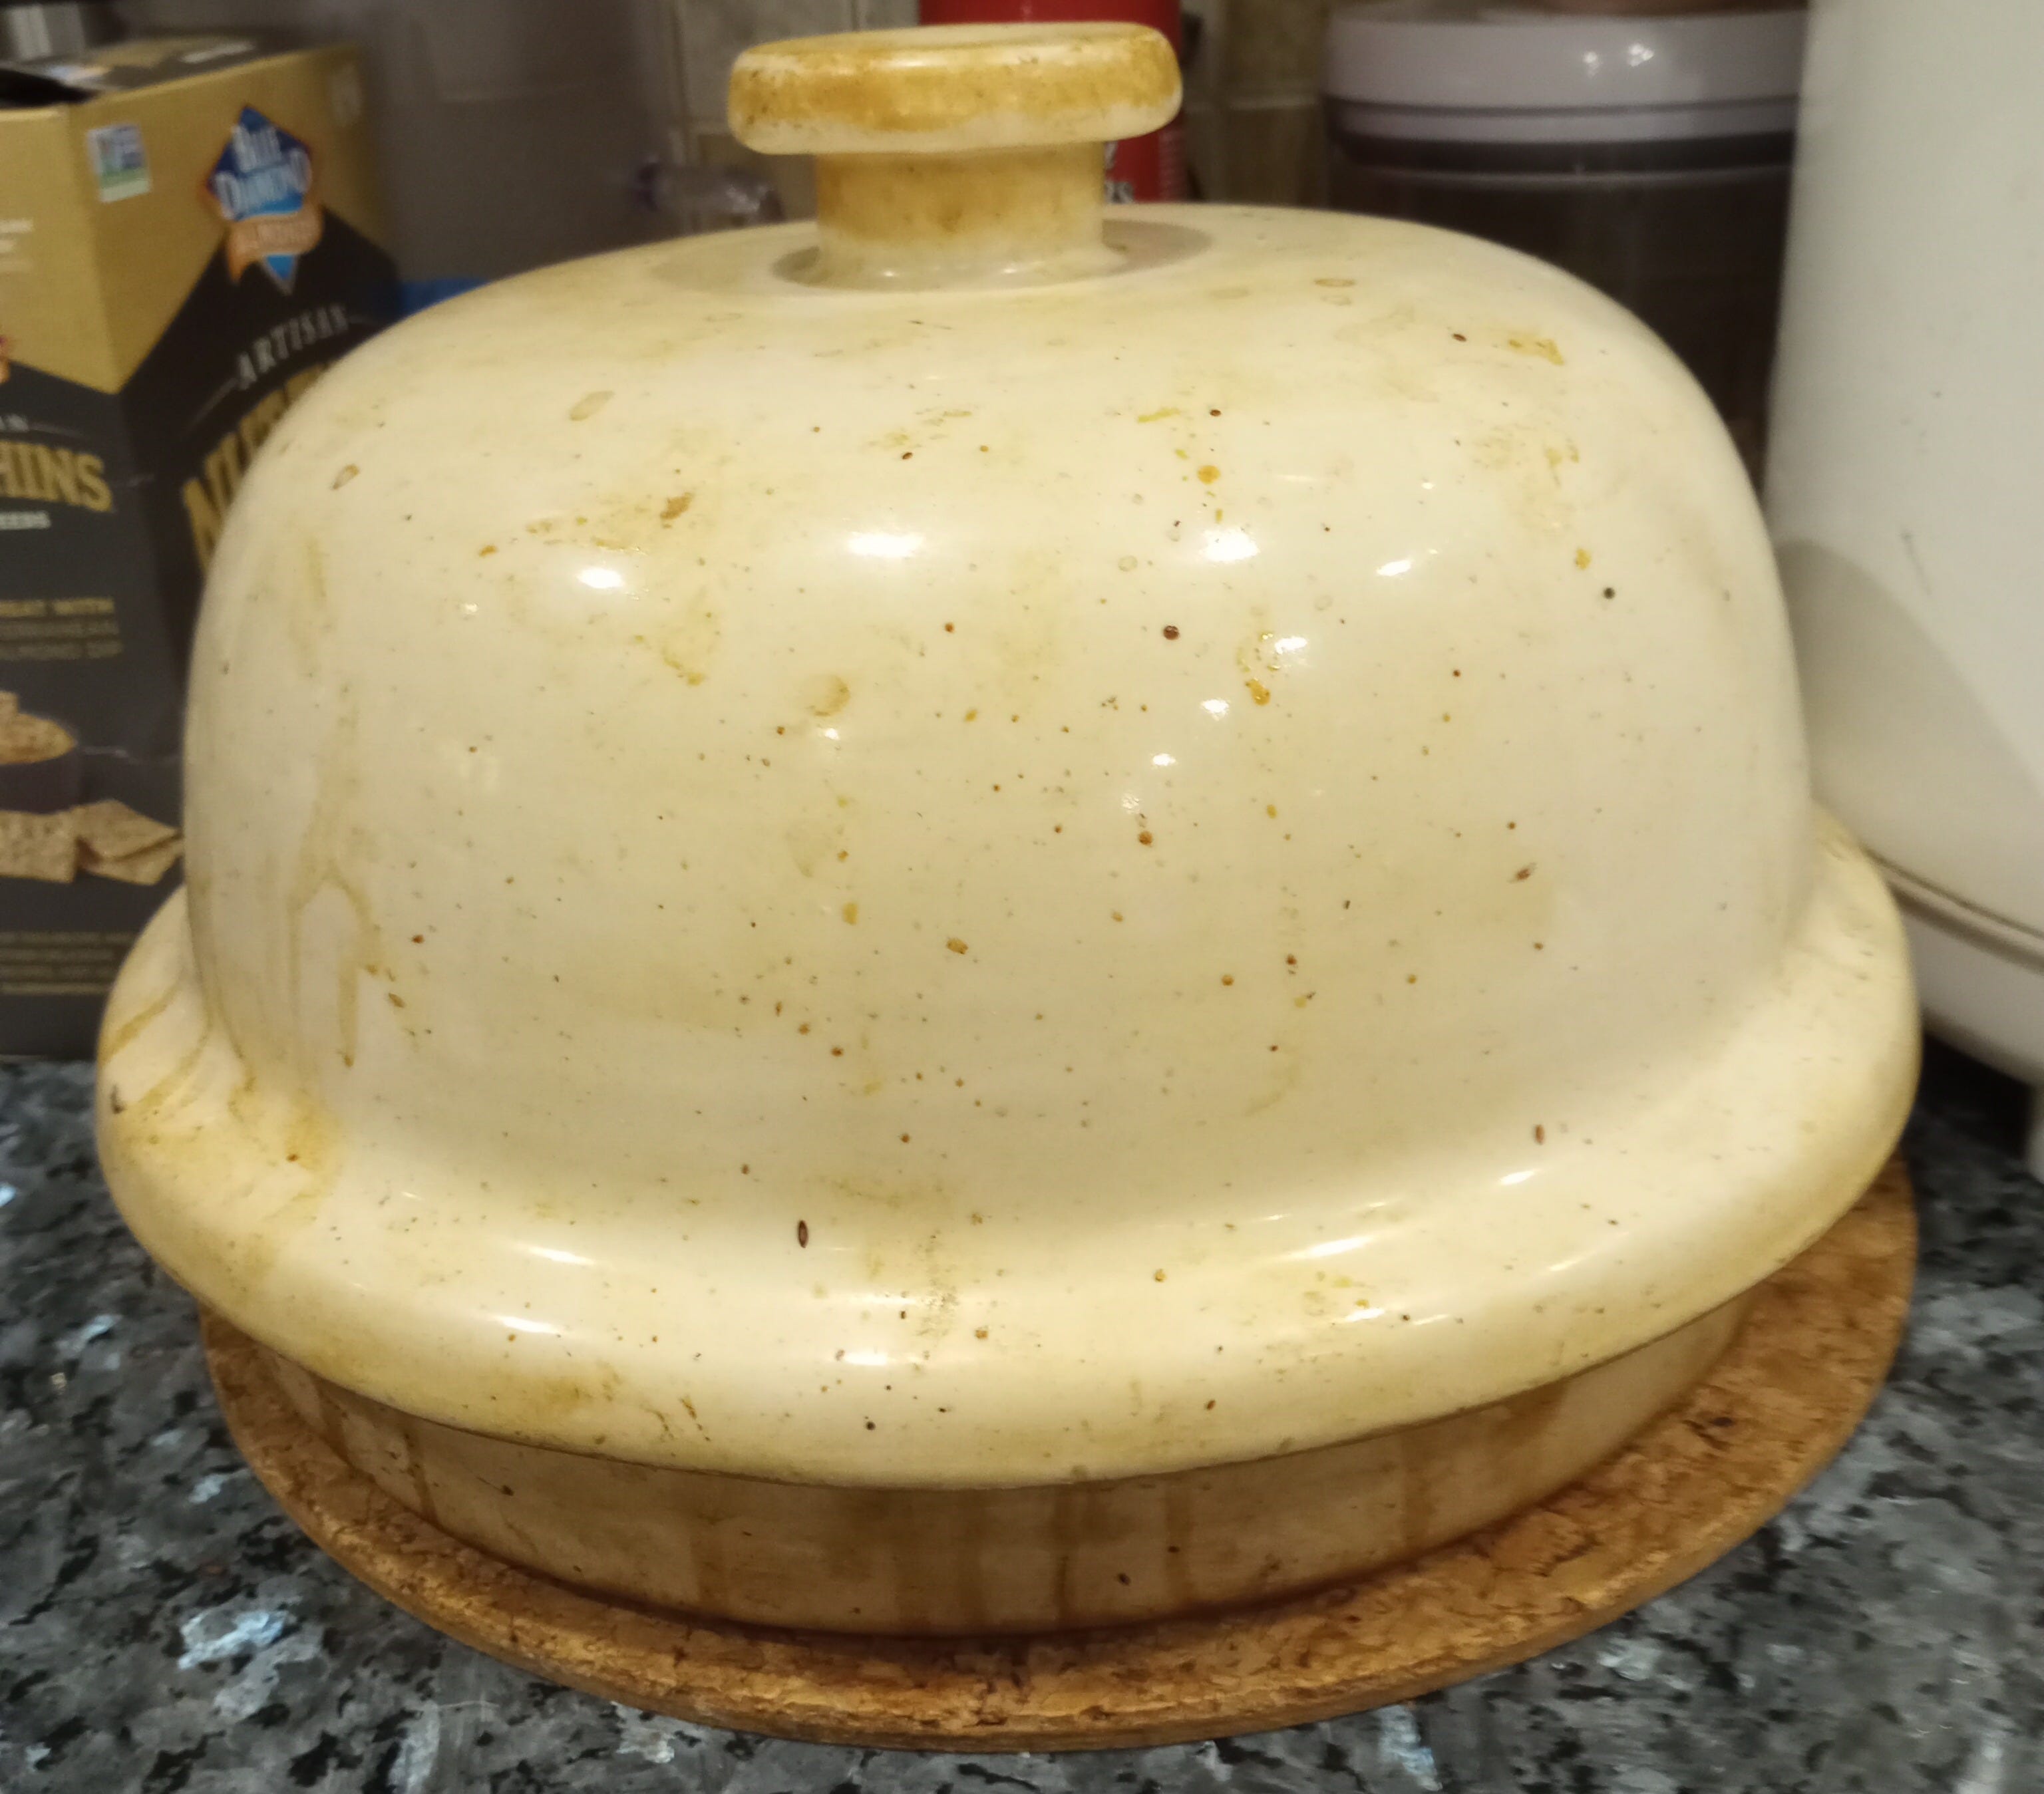
In December 2022, two things happened: First my father-in-law presented me with a wonderful bread cloche for Christmas (Photo #1). It is an absolutely amazing gadget that turns out beautiful loaves of bread time after time. I love the thing!
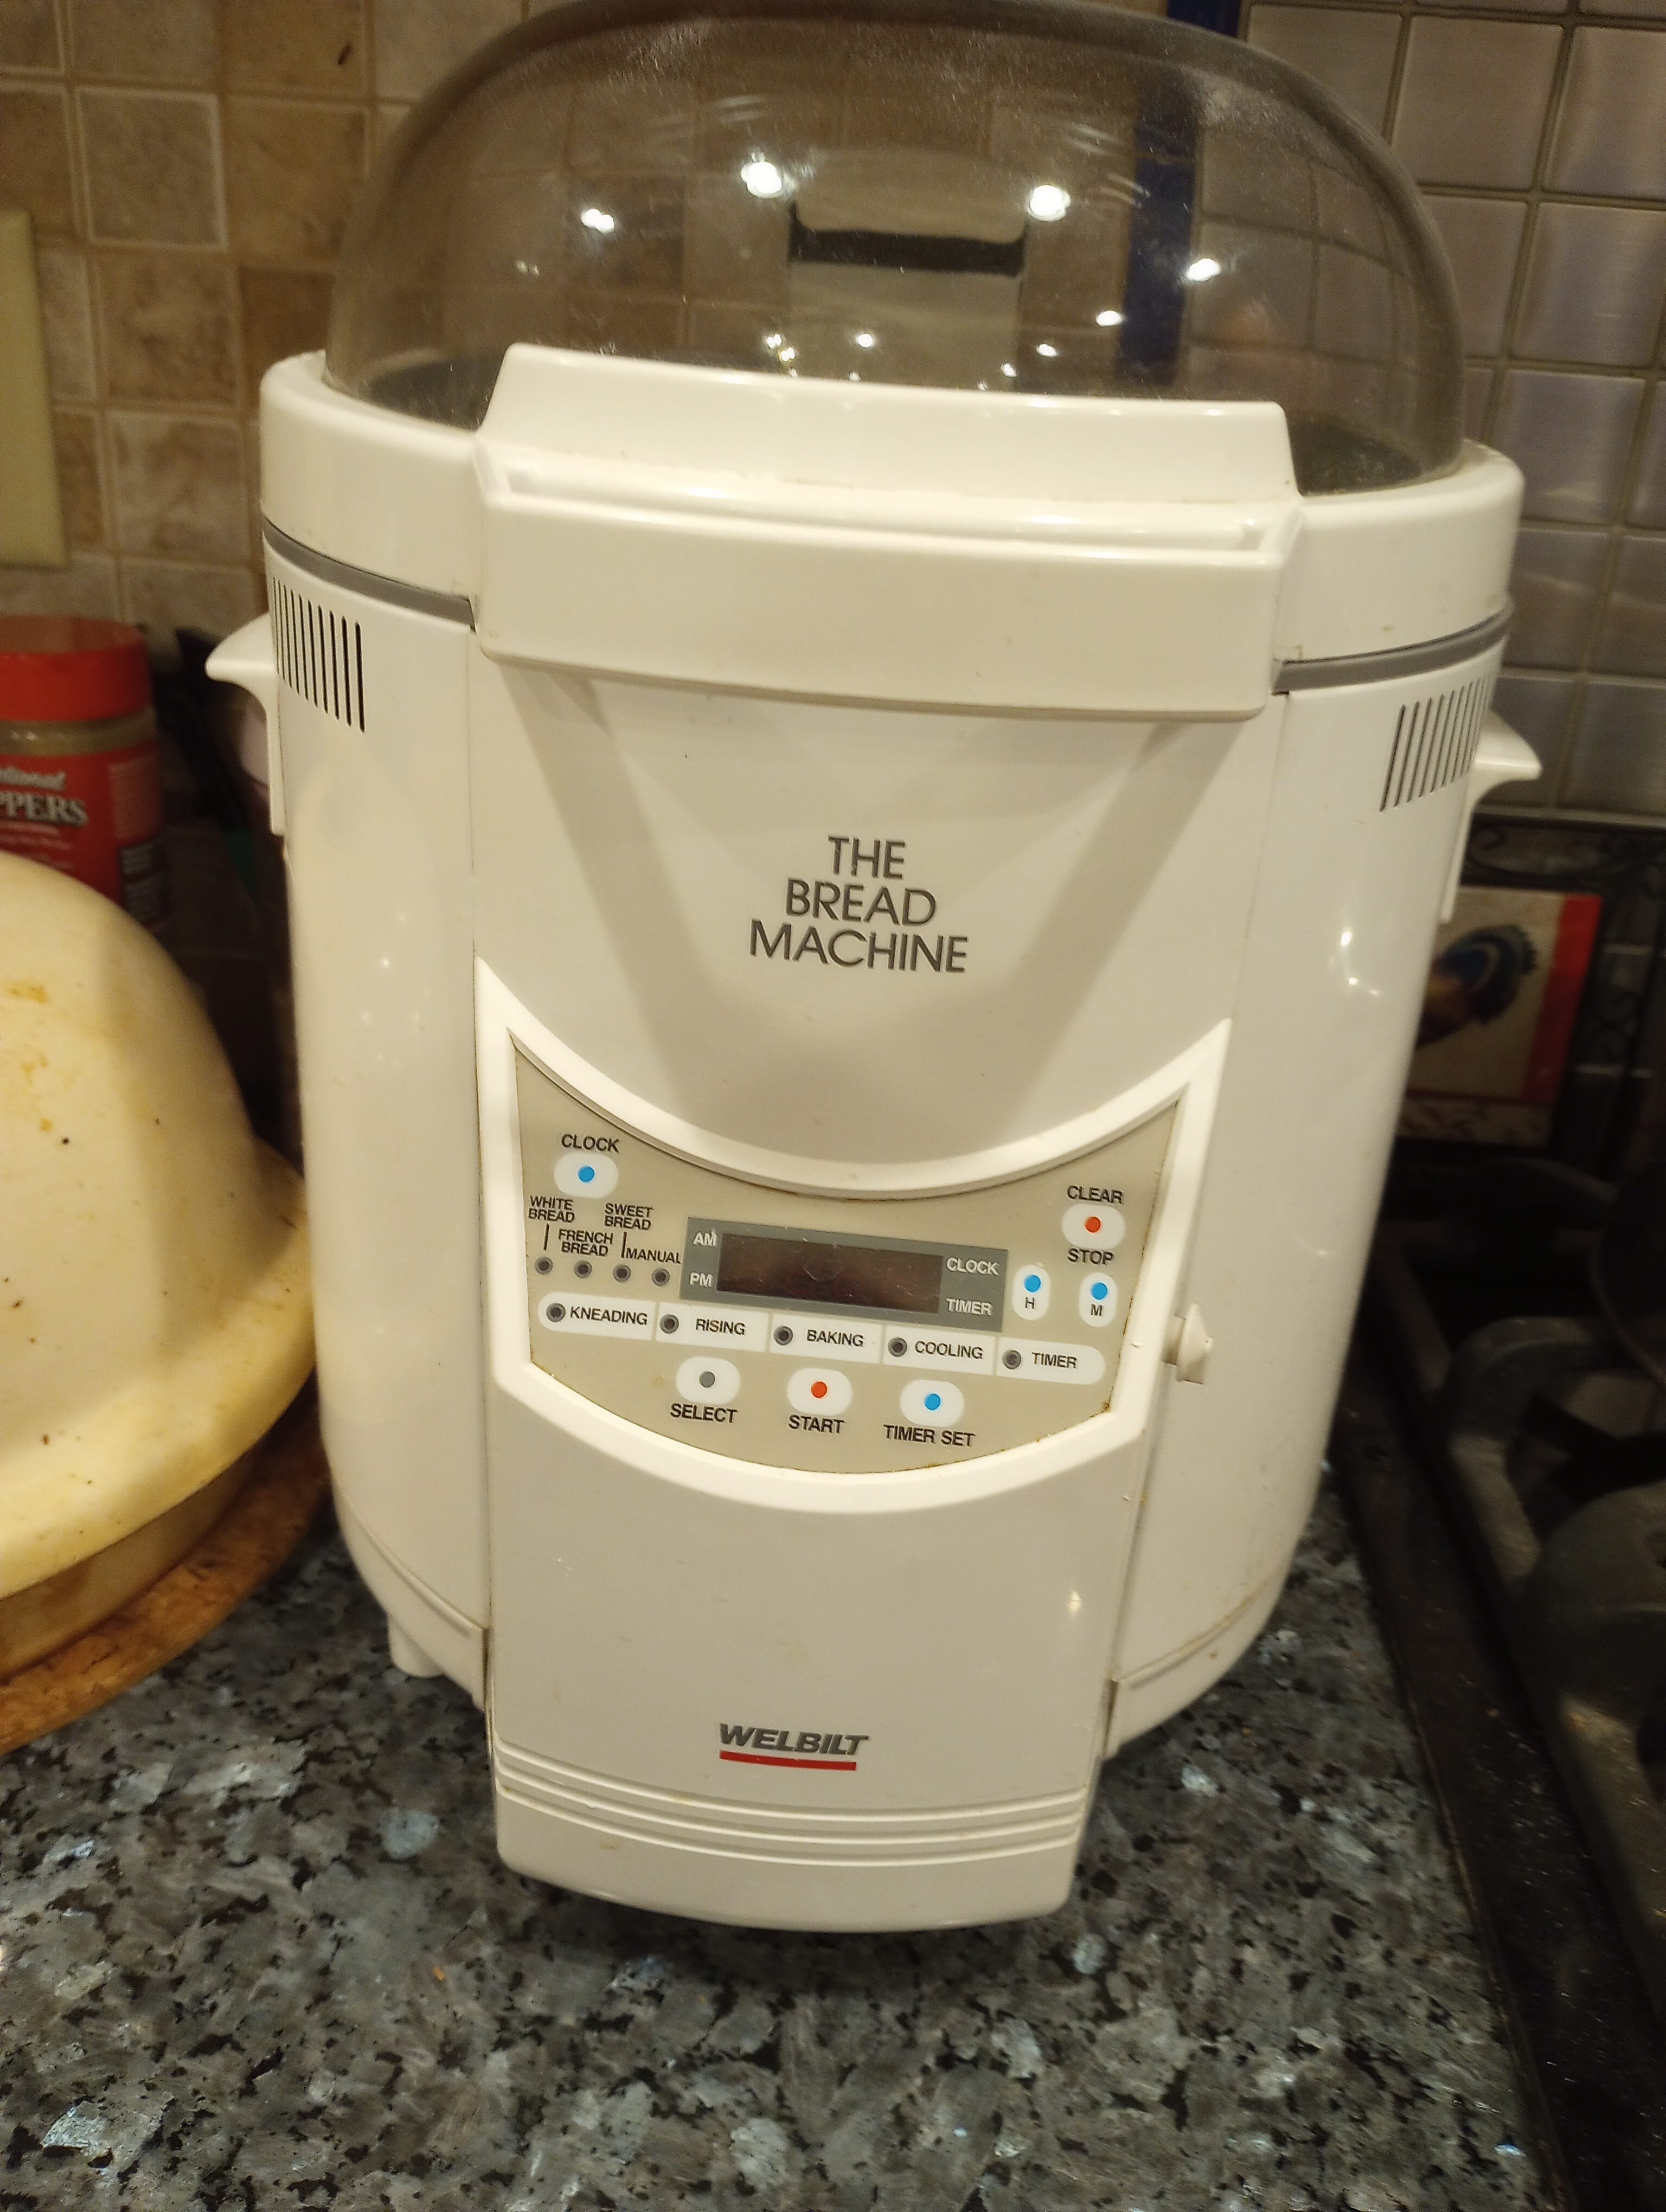
The next thing that happened is that I finally broke down and dug out the ancient bread machine that my mother-in-law had given me back in the ‘90s (Photo #4). I'd packed it away in the back of the pantry, because I didn't really care for the way it baked bread - it never got that nice crunchy crust achieved by regular baking. But I was getting super scrunched for time, and realized that I could ask my little robot to do the hard work of kneading while I attended to one of the zillions of other chores clamoring for my attention.
If you don't have a cloche, you can use a Dutch oven, or any other covered baking pan, as long as there's enough room to let the dough rise. You also don't NEED a bread maker to do the kneading, but it is a huge time saver, and it does an awesome job. My old one is a real workhorse, and if you're lucky, you can ptobably find one in working order for less than $50 on Ebay. But failing that, you can always knead by hand, which will probably take between ten to fifteen minutes.
One last note: I use a mix of measurement techniques, because it's convenient for me. For the sourdough culture, I use cups - it's not necessary to be ultra accurate, I just scoop it out. I use cups and spoons to measure liquid ingredients and small amounts of ingredients (e.g., salt and yeast). I use a scale to weigh out the dry ingredients, after discovering that the weight of a “cup" of flour can vary wildly, depending on how packed down it happens to be. Once I began using a kitchen scale to measure out dry ingredients, the quality of my bread became much more consistent. I'll provide both the weight and cup measurements, but I highly recommend that you weigh your dry ingredients.
On to the recipe!
New Multigrain Sourdough Boule
Based on original recipe, Multigrain Sourdough Boule, from King Authur Flour. It's been modified to reduce sodium levels and increase protein and fiber.
Ingredients
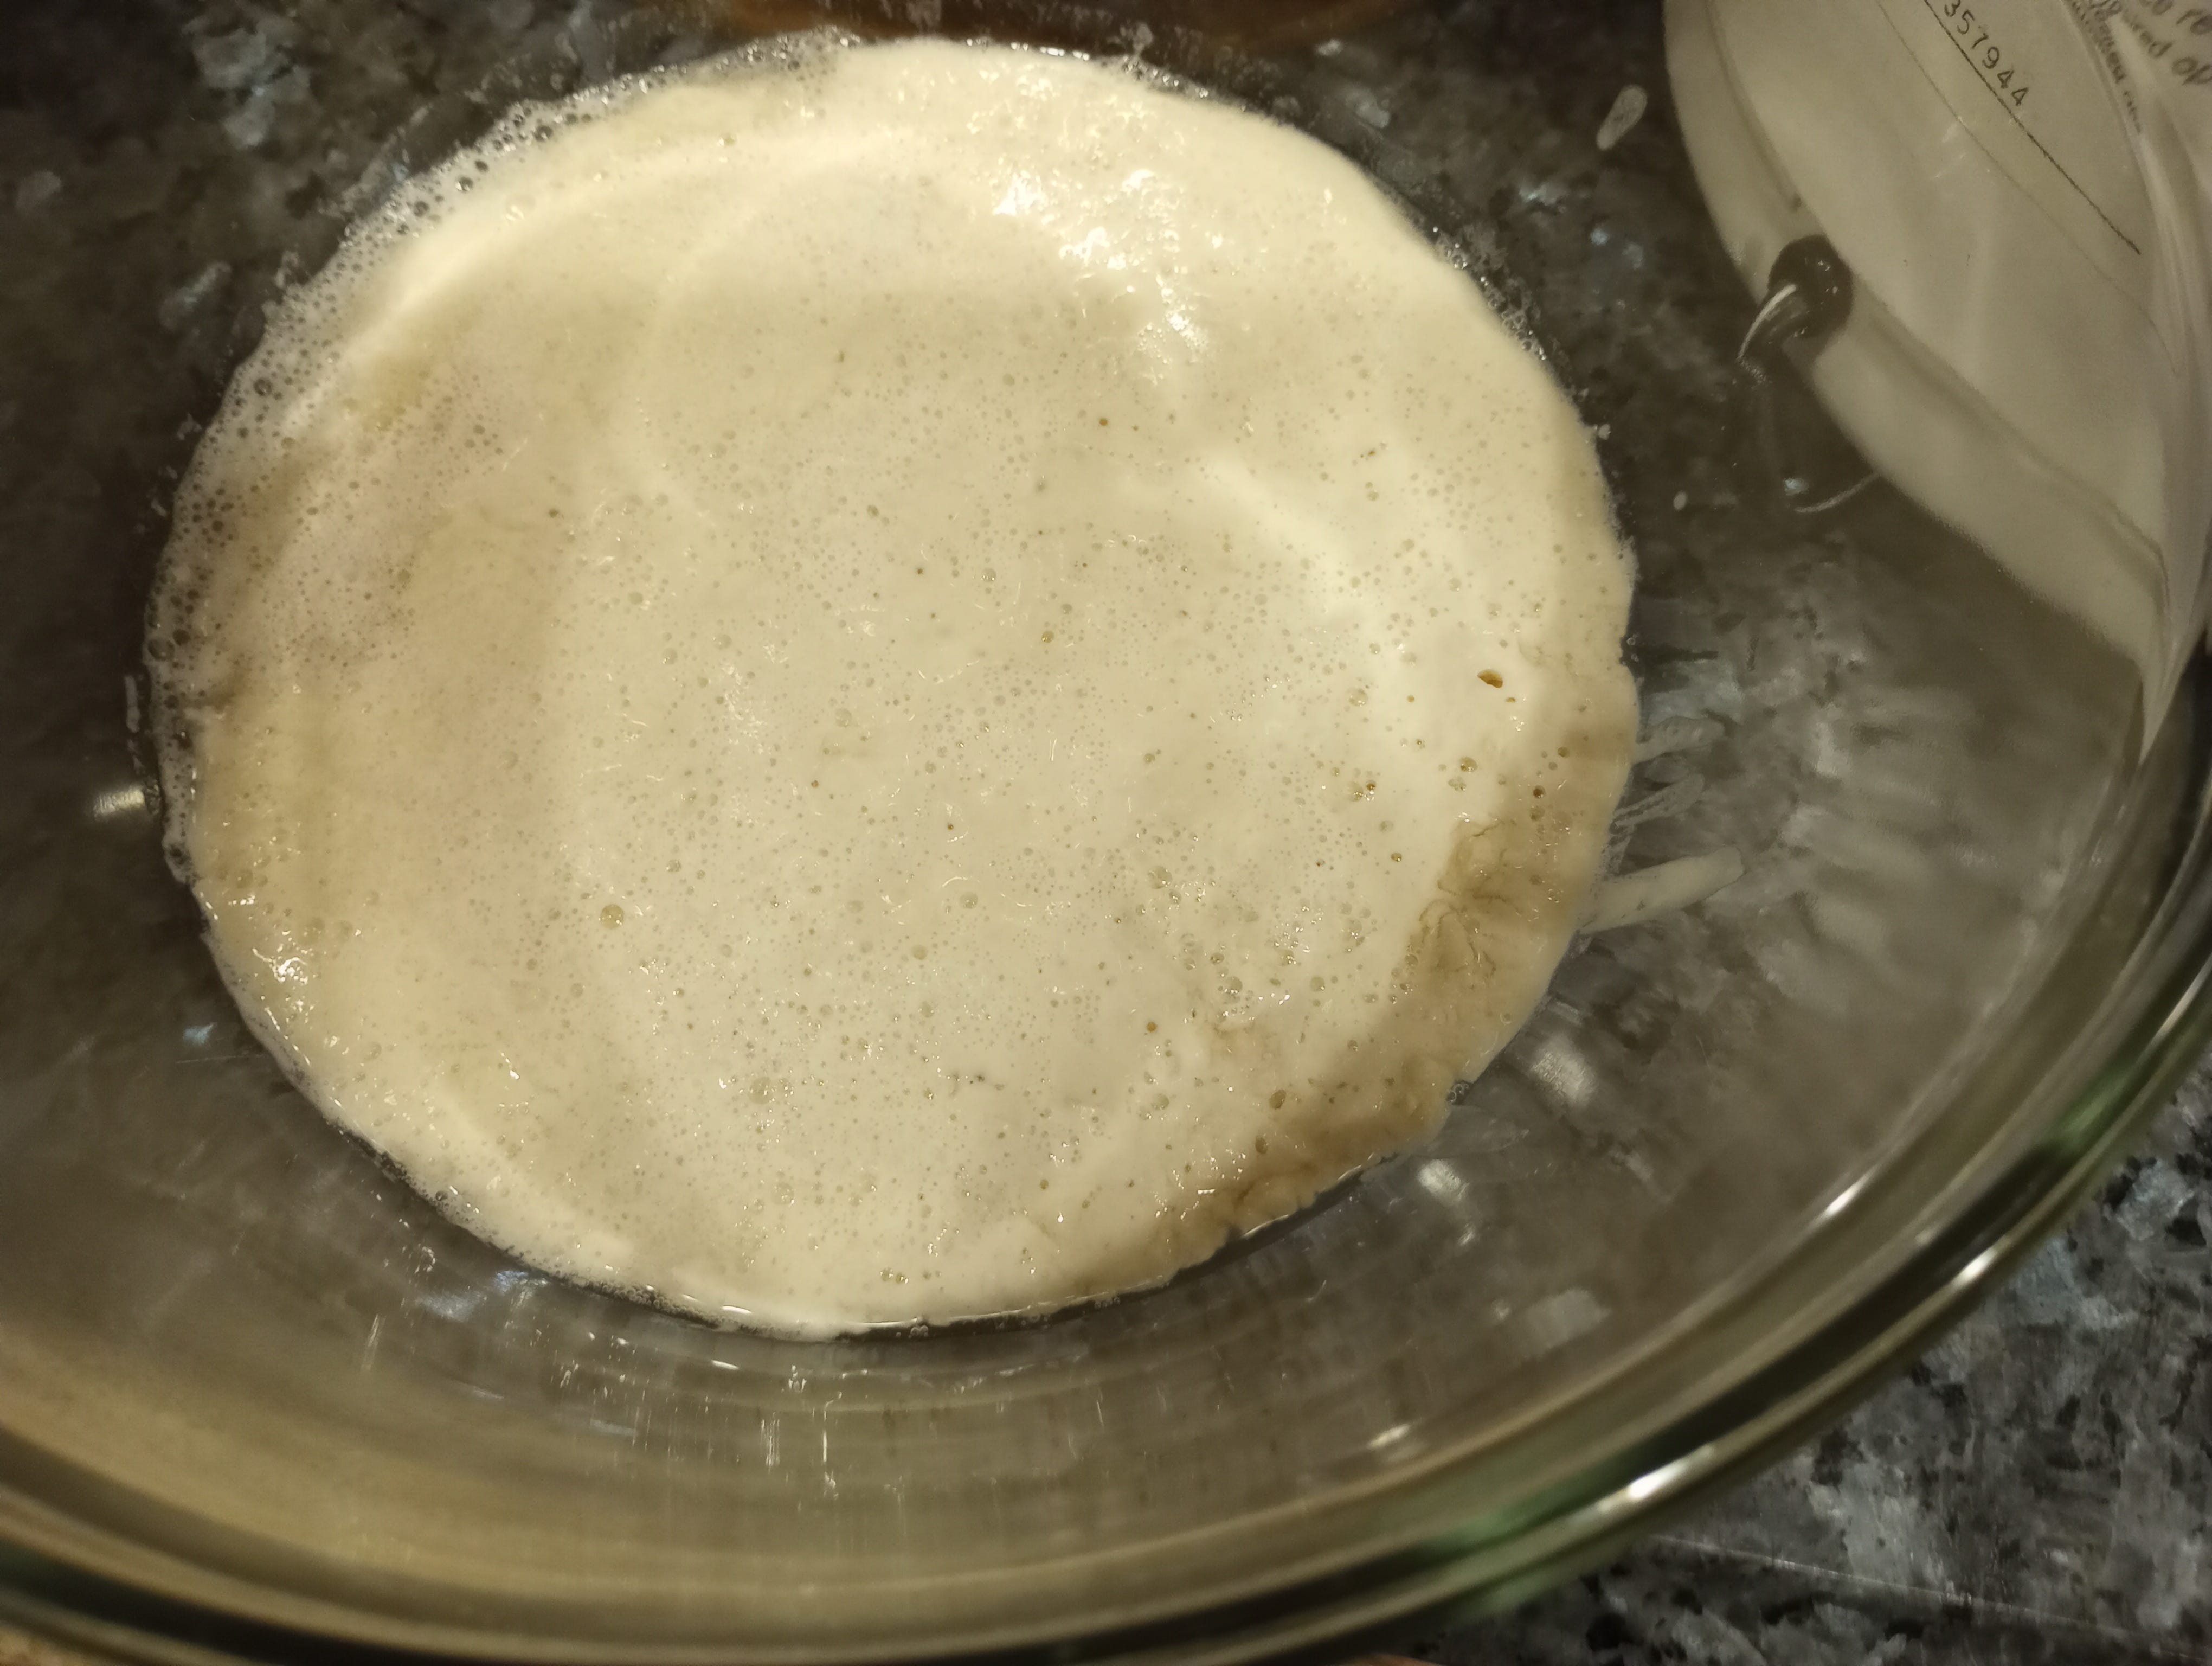
2 cups fed sourdough starter1 (Photo #2)
60 grams bread flour (0.5 cups)
325 grams whole wheat flour (2.5 cups)
60 grams vital wheat gluten (0.5 cups)
2 teaspoons salt
1 teaspoon dried yeast
60 grams wheat bran (wheat bran flake cereal works well, too) (0.5 cups)
100 grams multigrain flour (whatever type you'd like!) (0.75 cups)
1.5 cups boiling water
2 tablespoons olive oil
2 tablespoons maple syrup
Sesame seeds for sprinkling
Olive oil for spritzing
Procedure
Measure out sourdough starter, cover and set aside for several hours.
Measure out dry ingredients (bread flour, whole wheat flour, vital wheat gluten, salt, and dried yeast). Mix thoroughly and pour the mixture into the bowl of the bread machine (if hand kneading, just set the mixed dry ingredients aside until the sourdough culture is ready to go).
Measure out the soon-to-be wet ingredients into another bowl (wheat bran, multigrain flour, olive oil and maple syrup) If you use the spoon for the oil first, the maple syrup won't stick to it. Stir in the boiling water and mix well. Cover and set aside.
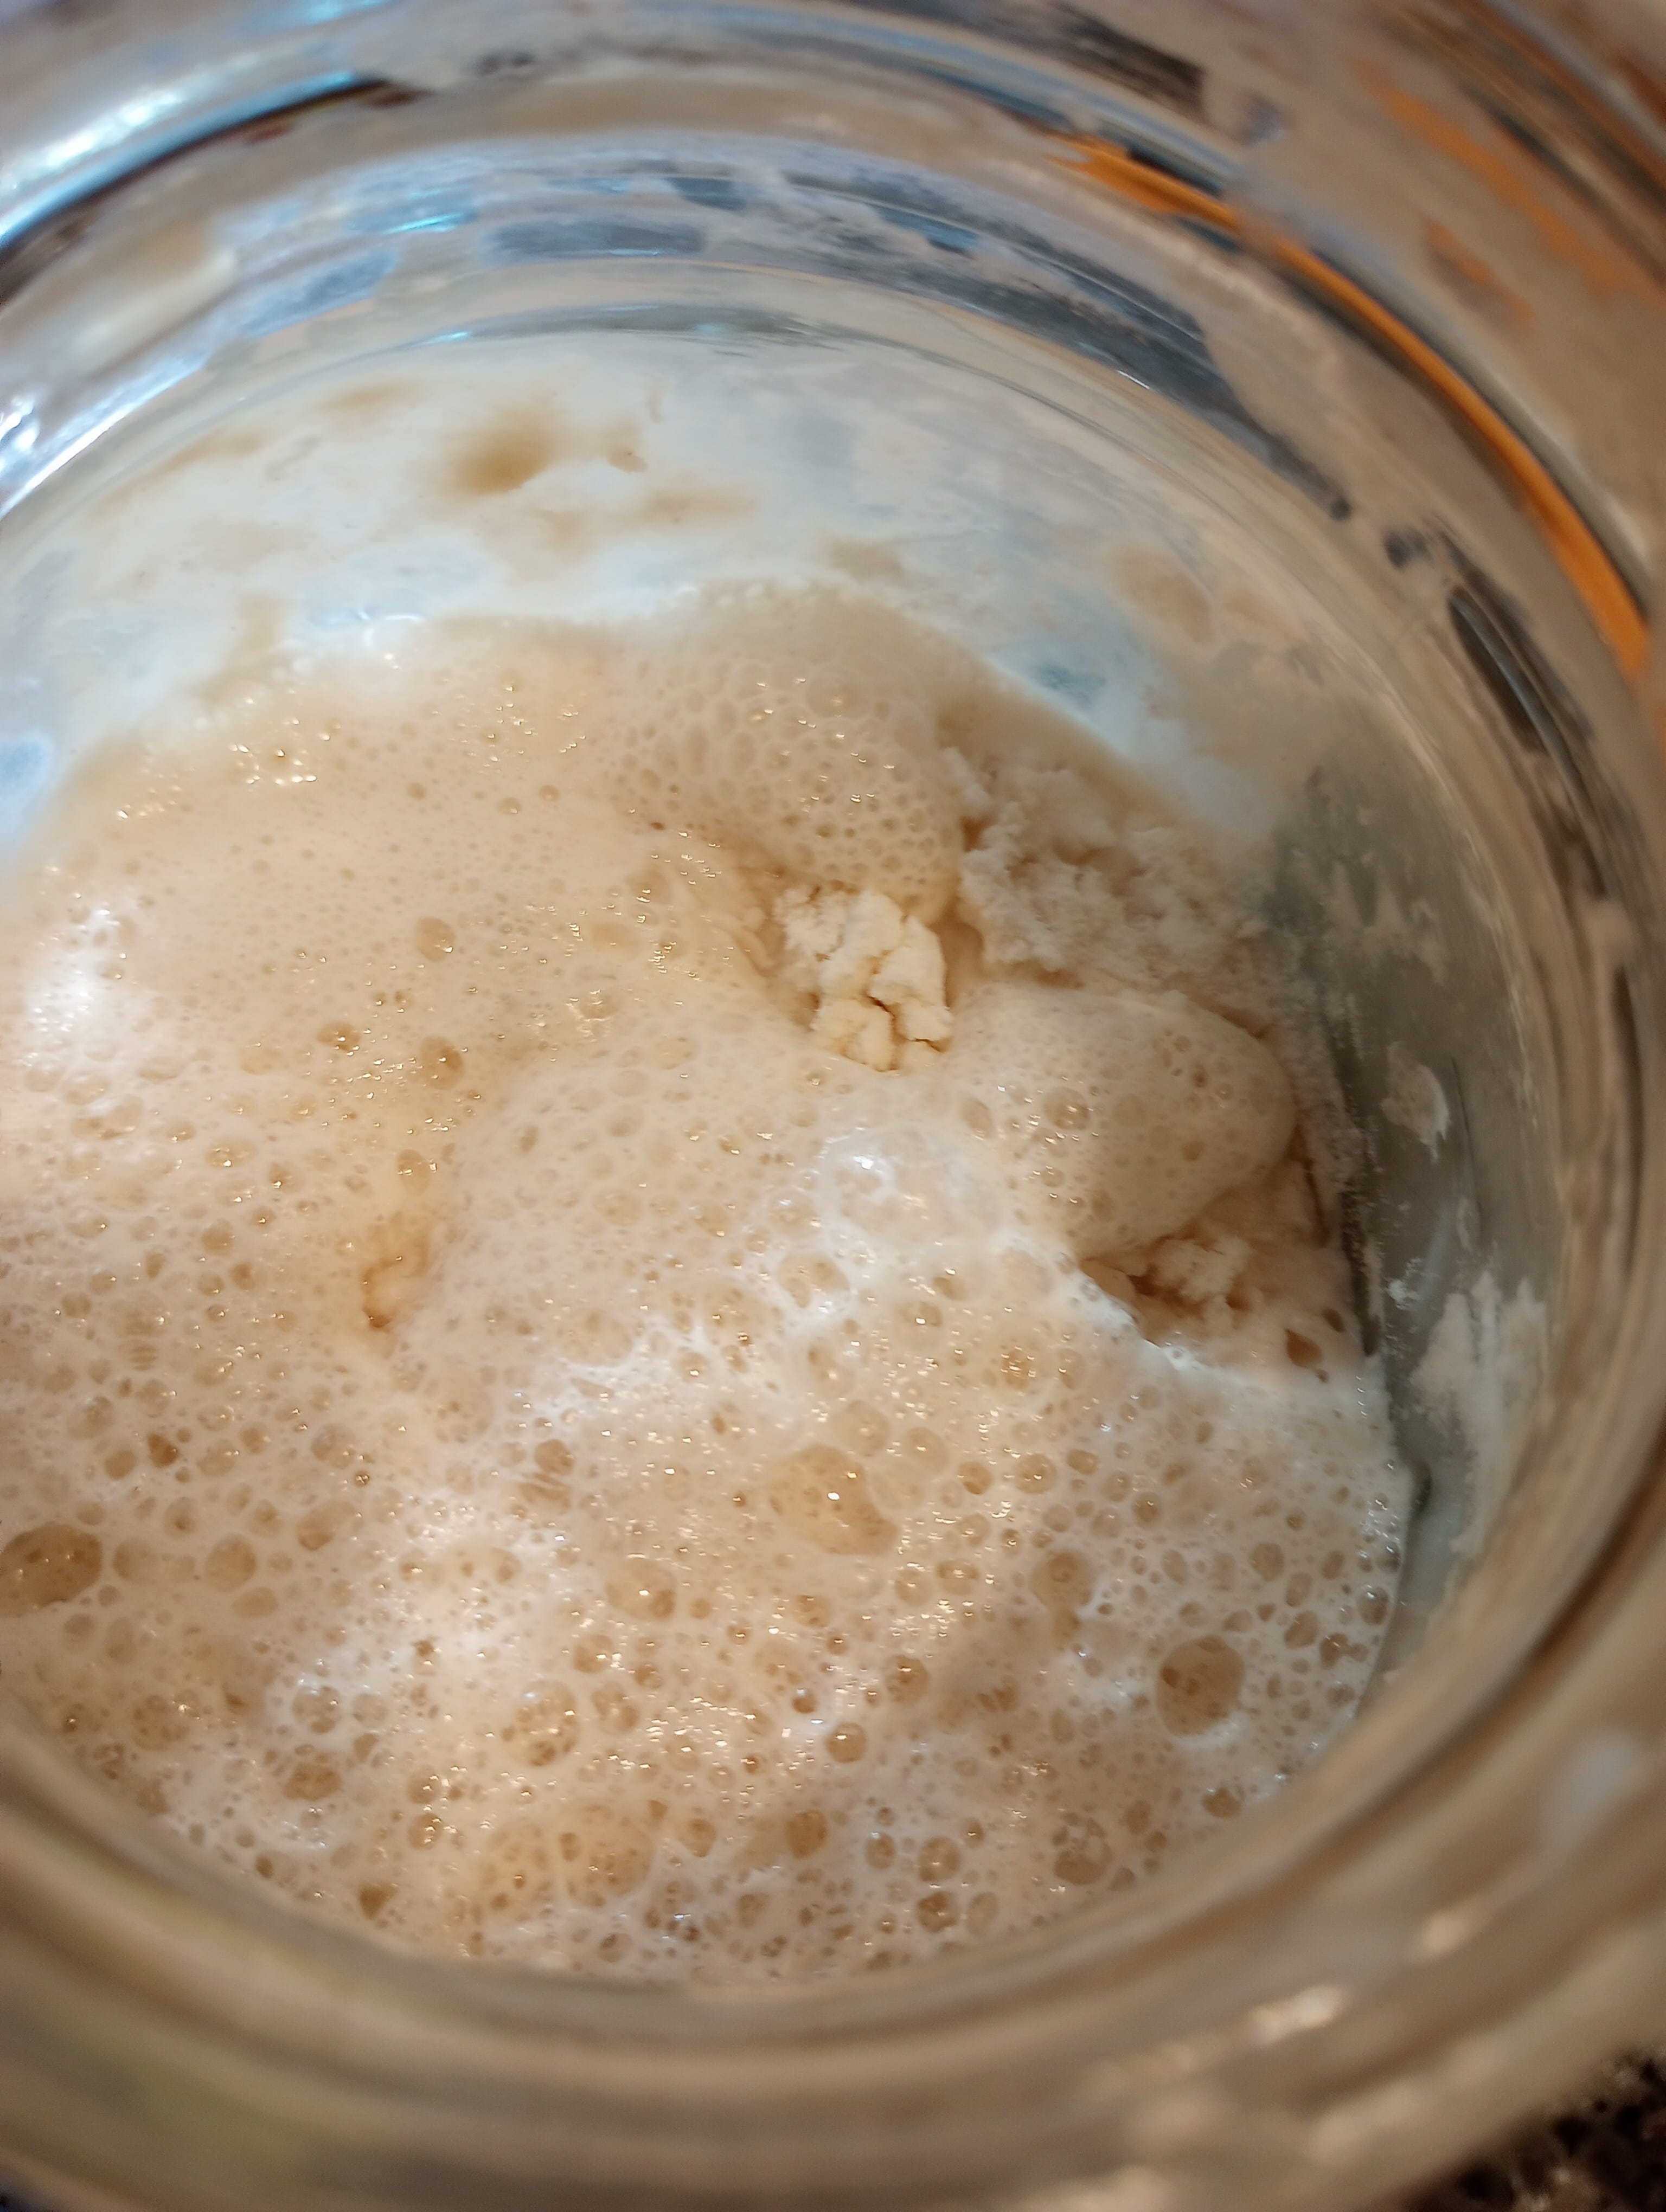
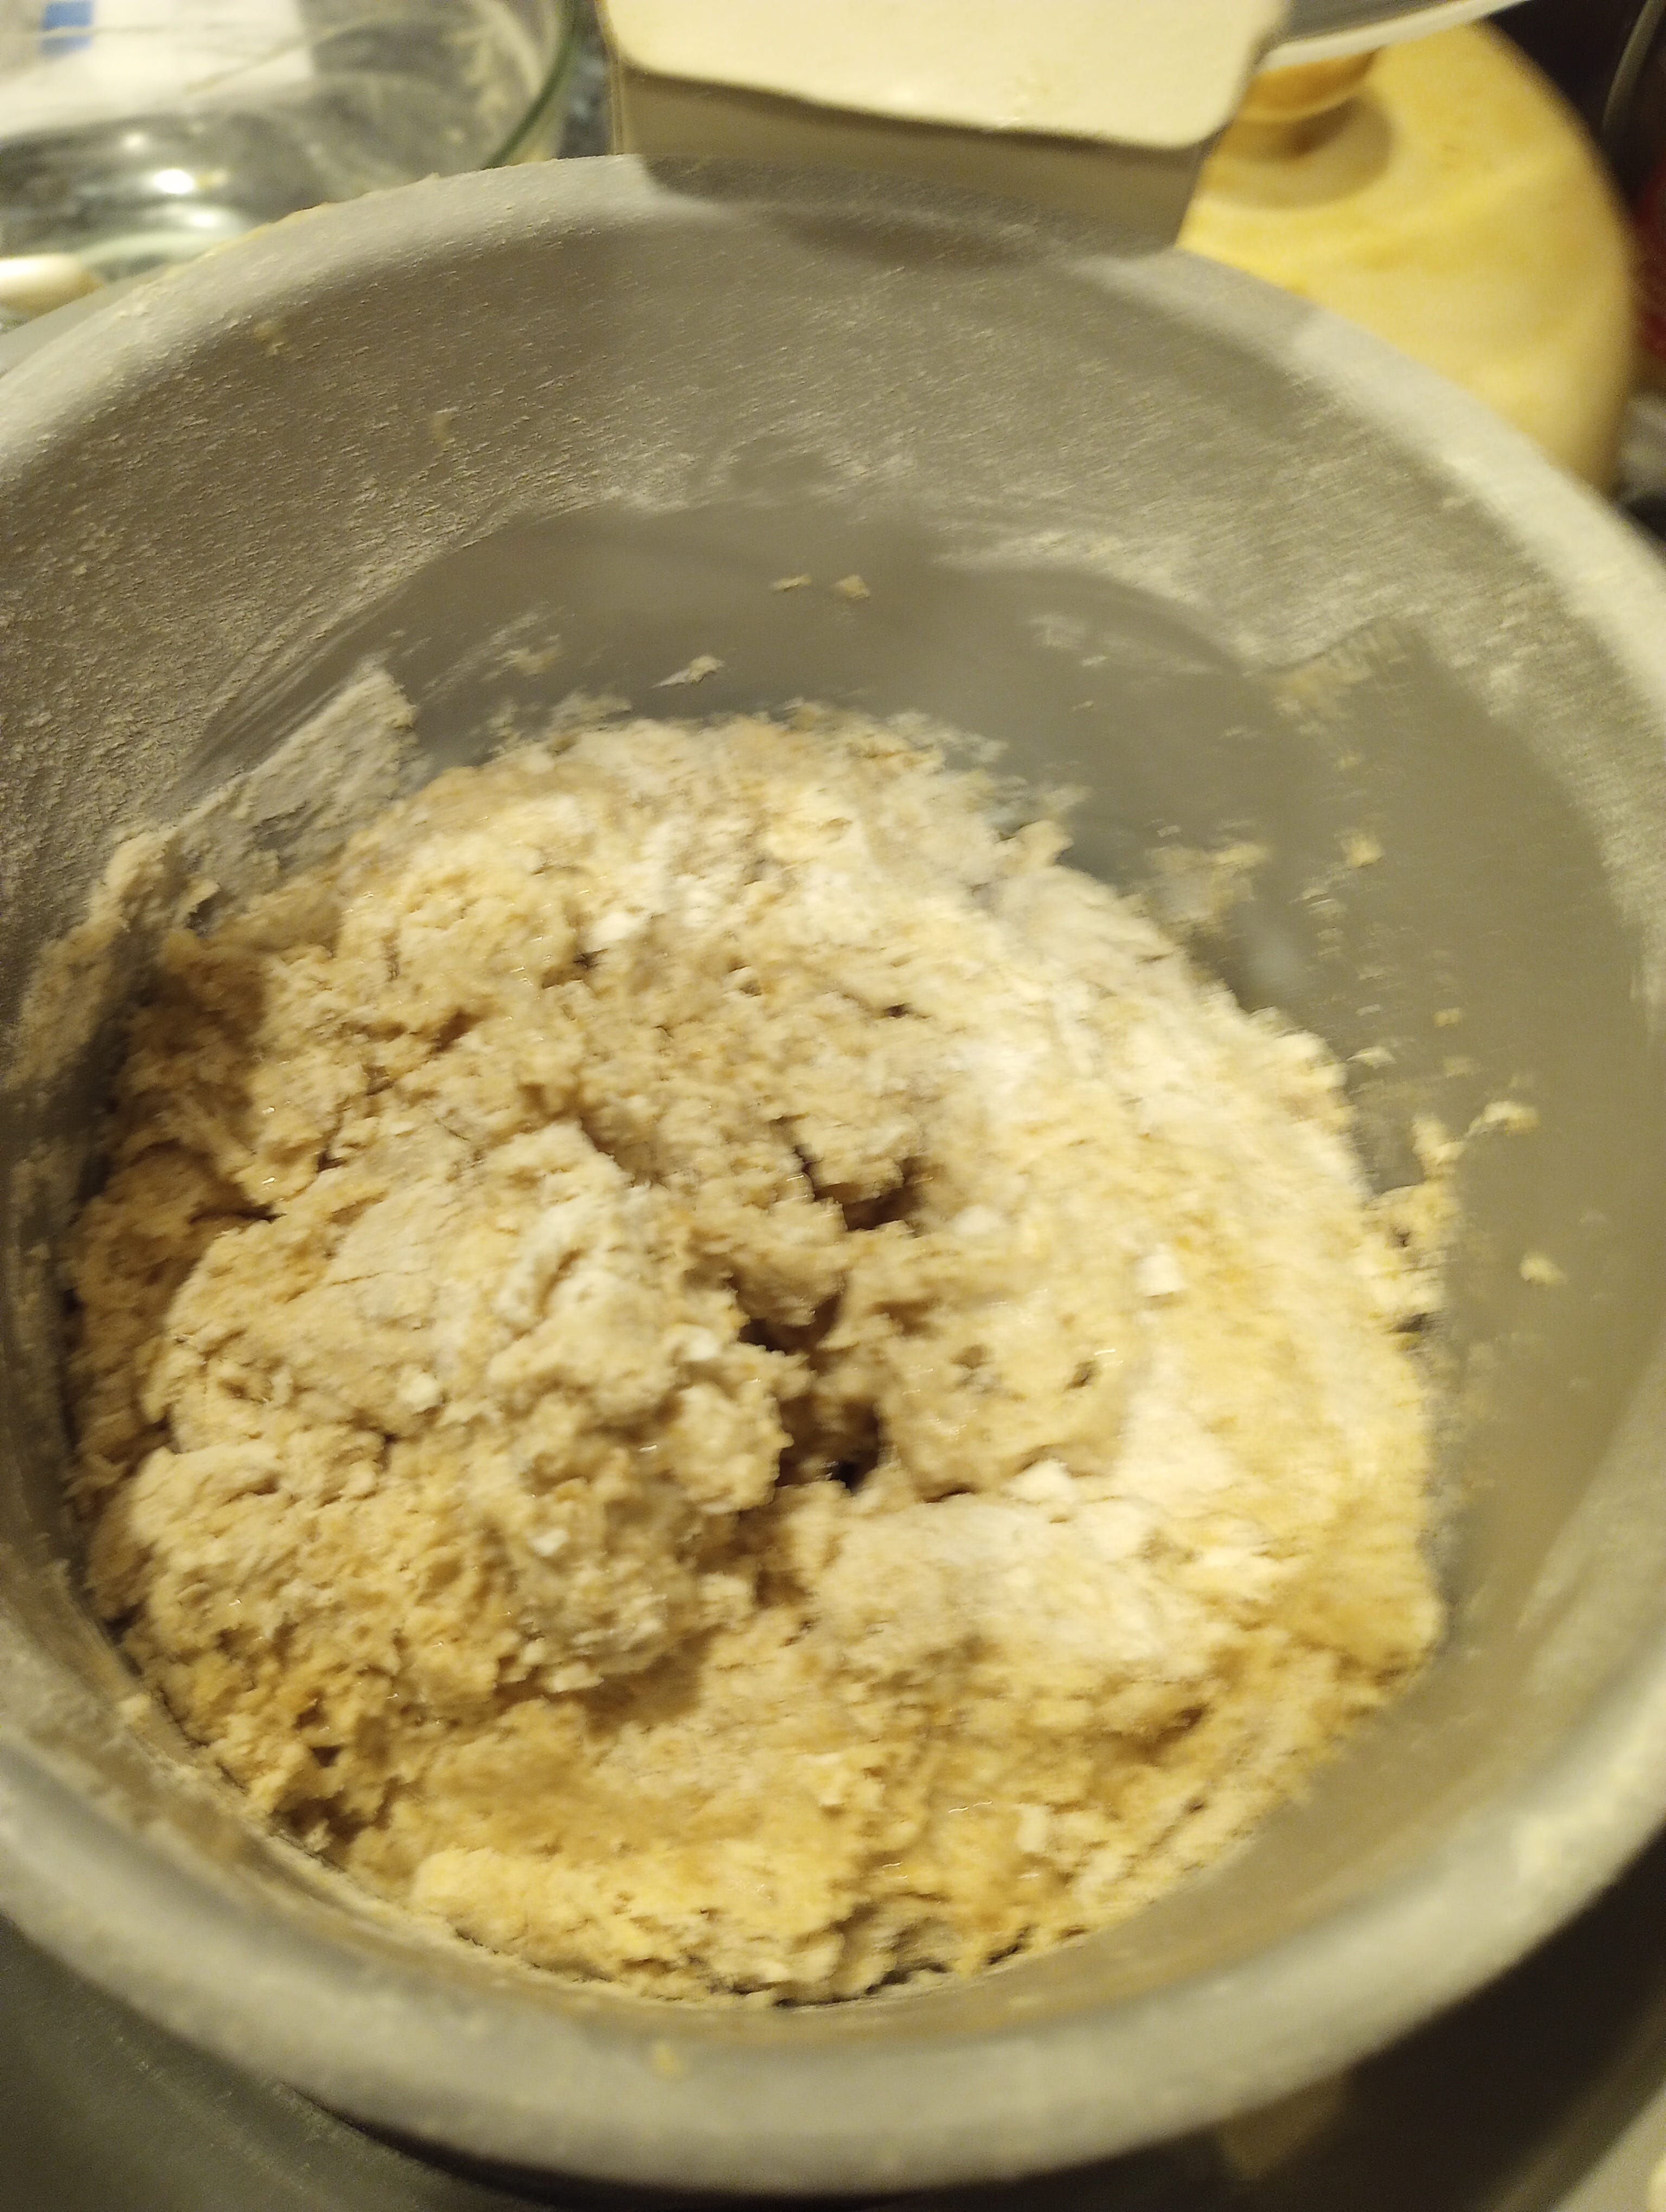
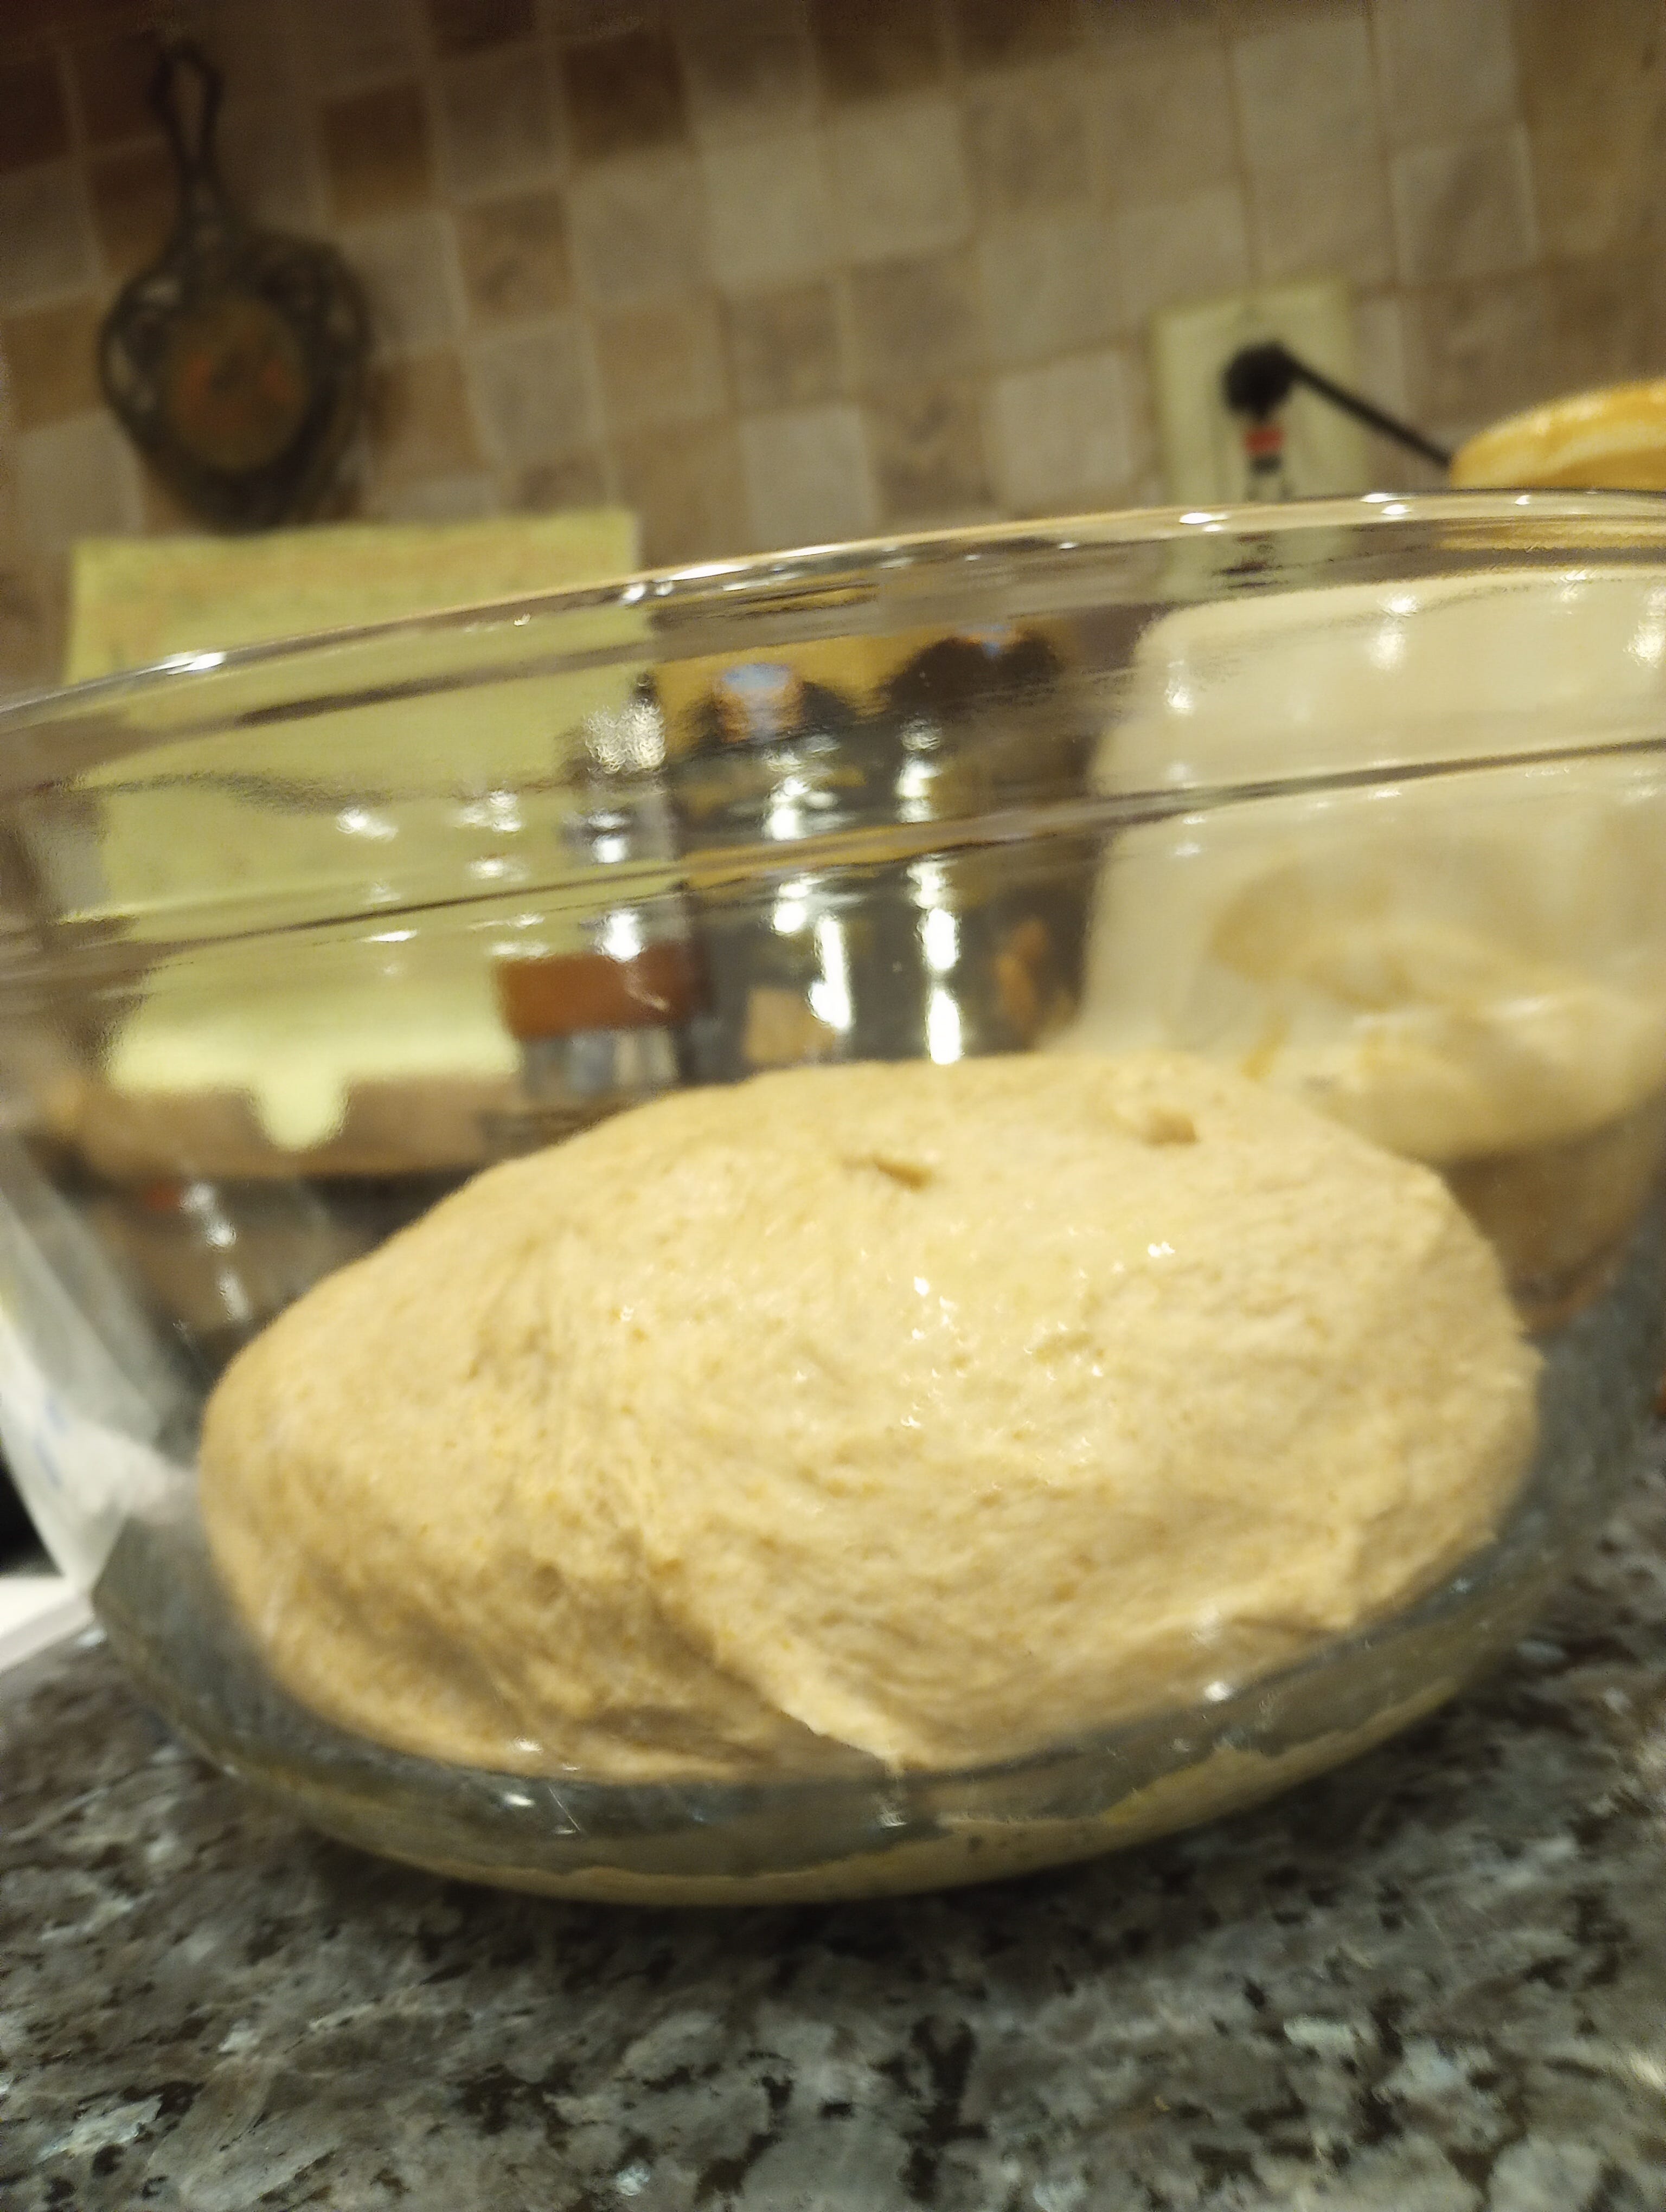
After several hours, the sourdough starter that you set aside should be bubbling away nicely (Photo #3) It usually takes my cultures eight to ten hours at room temperature to get to this point (so I get things started early in the morning). Fold the wet ingredients into the culture and mix well. If you're using a machine, pour the wet mixture in, so the flours are covered. Set the machine on the “manual” setting, which simply kneads the dough, without baking. Run the machine for a couple minutes until a rough dough has formed (Photo #5), then stop it briefly to push the dough down so that everything gets mixed together (you may have to do this a couple times, if it looks like the stuff on top isn't getting mixed into the mass). Restart the machine and run it until the dough has become smooth and elastic (Photo #6 ). It takes my bread machine about ten minutes to reach this stage. If you are hand-kneading, knead the mass until it has achieved smoothness and elasticity. If you poke the finished dough, it should bounce back, sort of like the Pillsbury Dough Boy (but without the giggle).
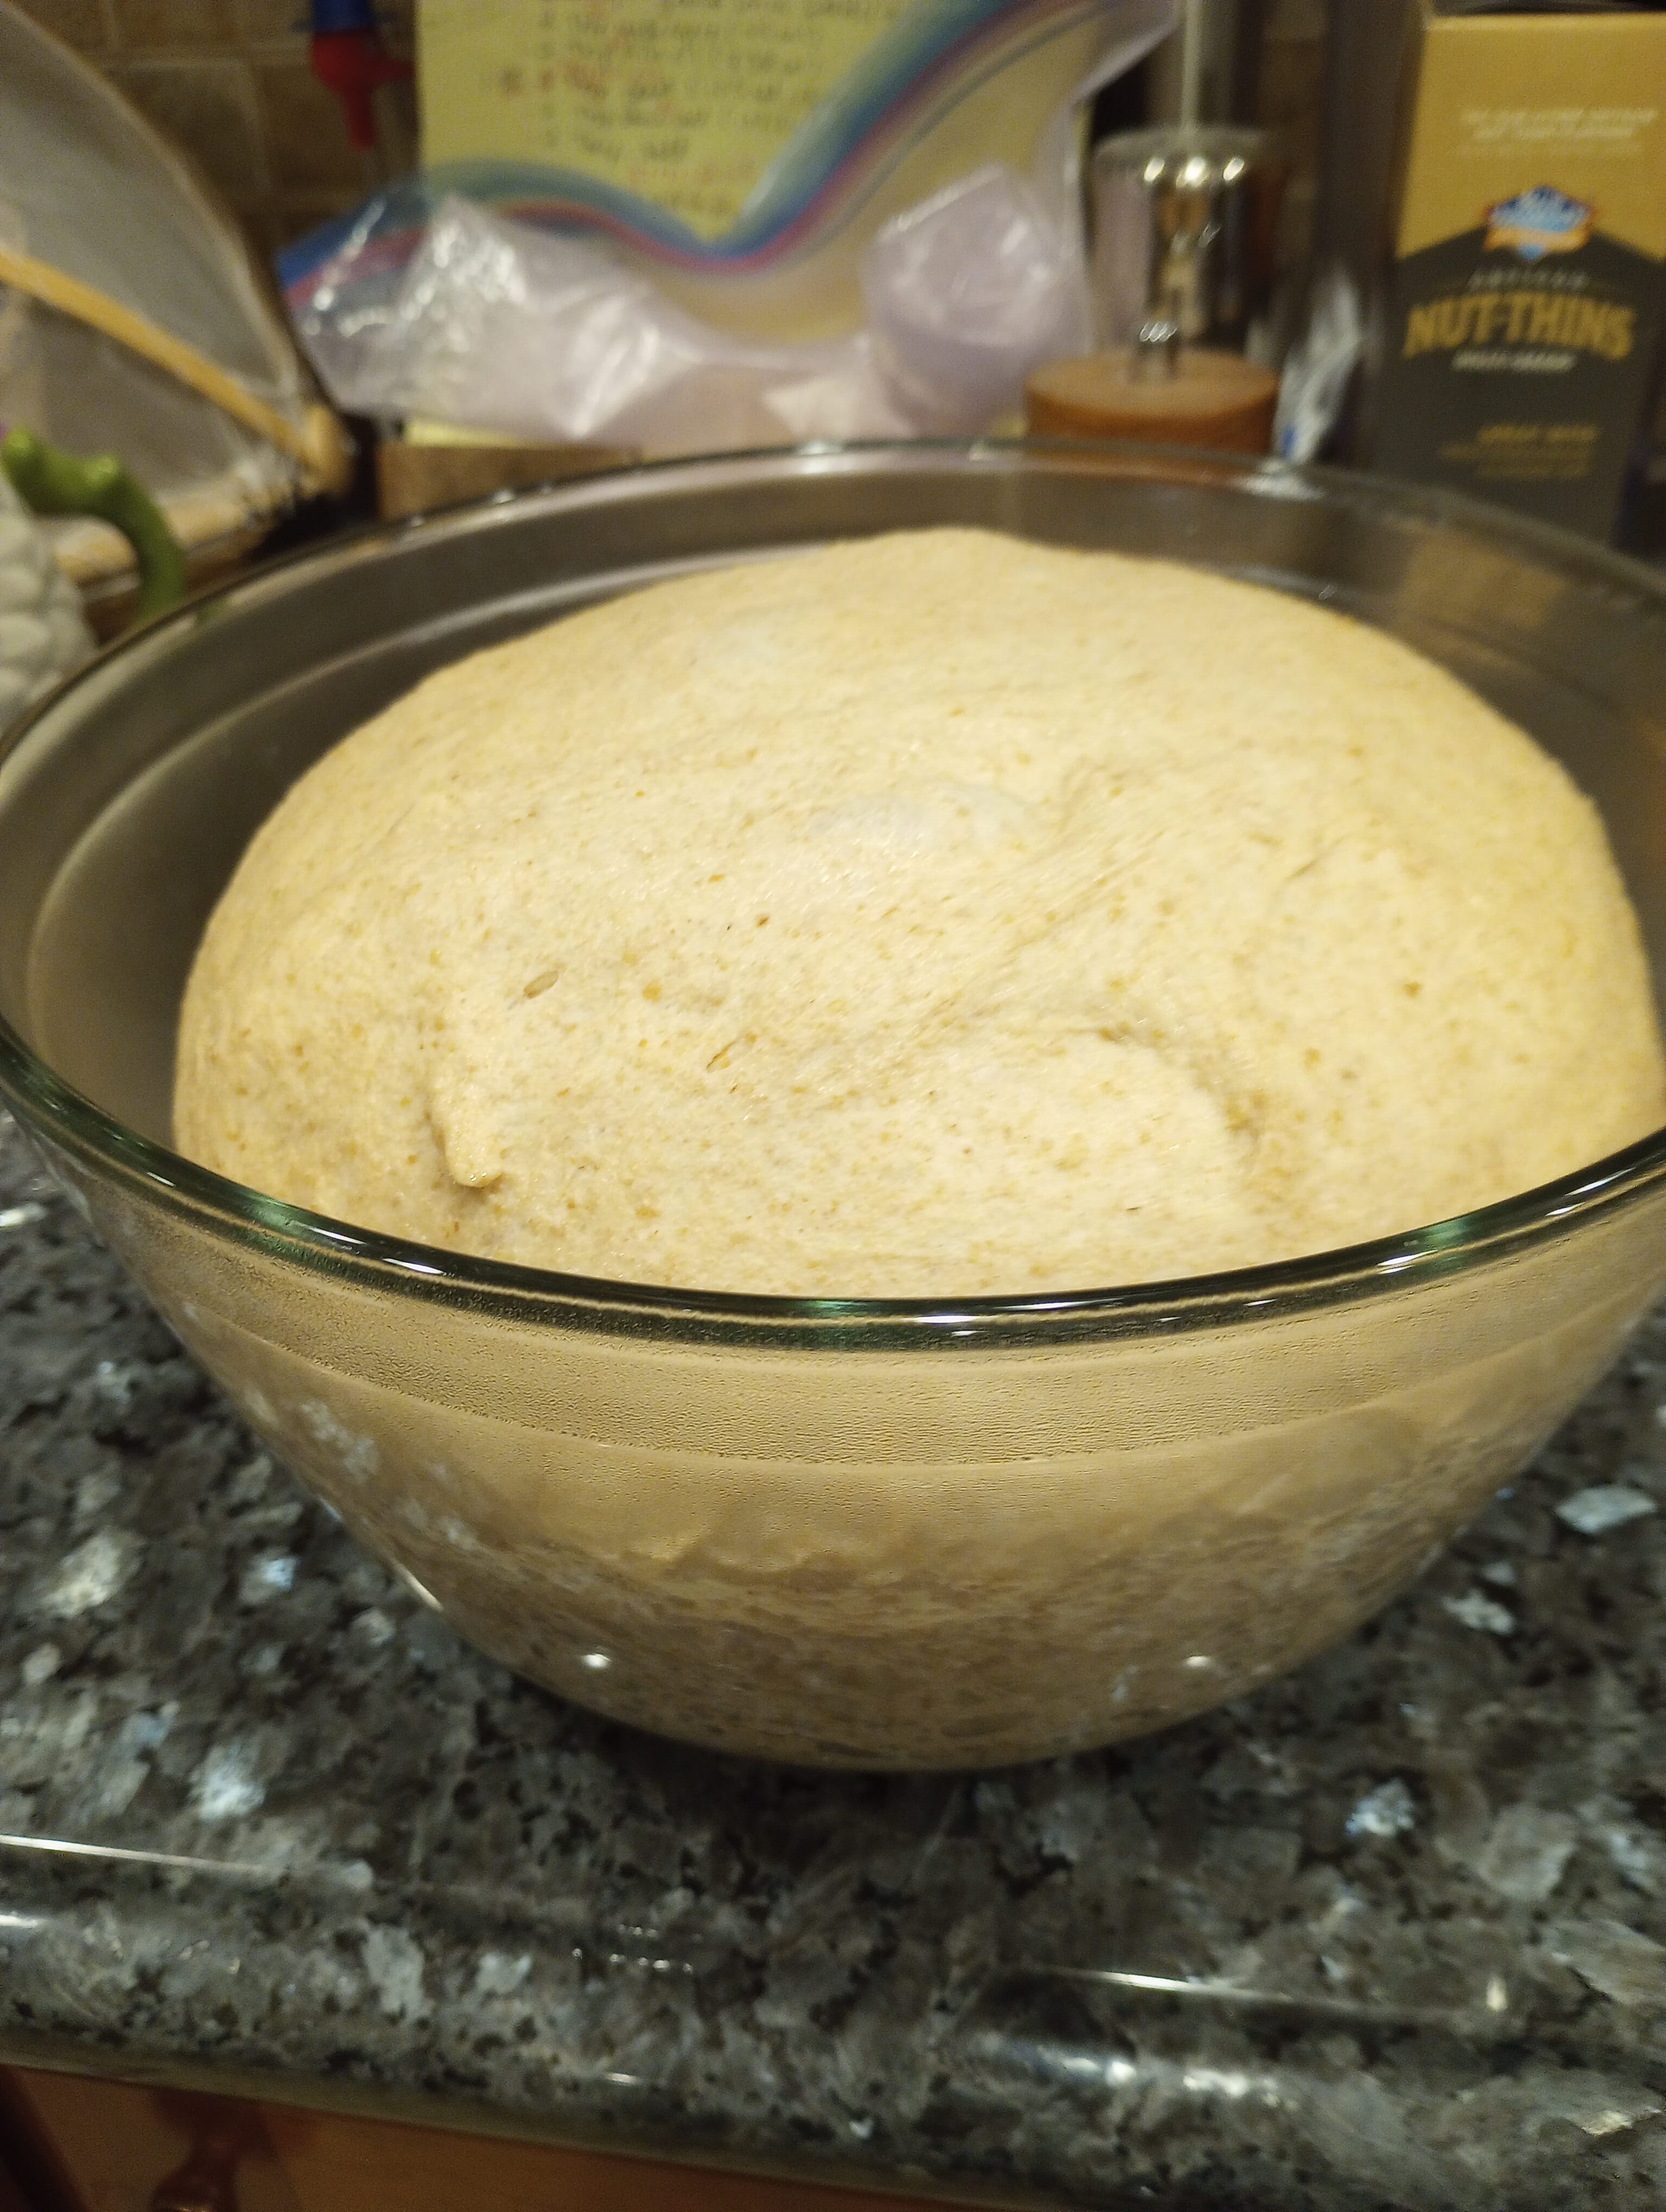
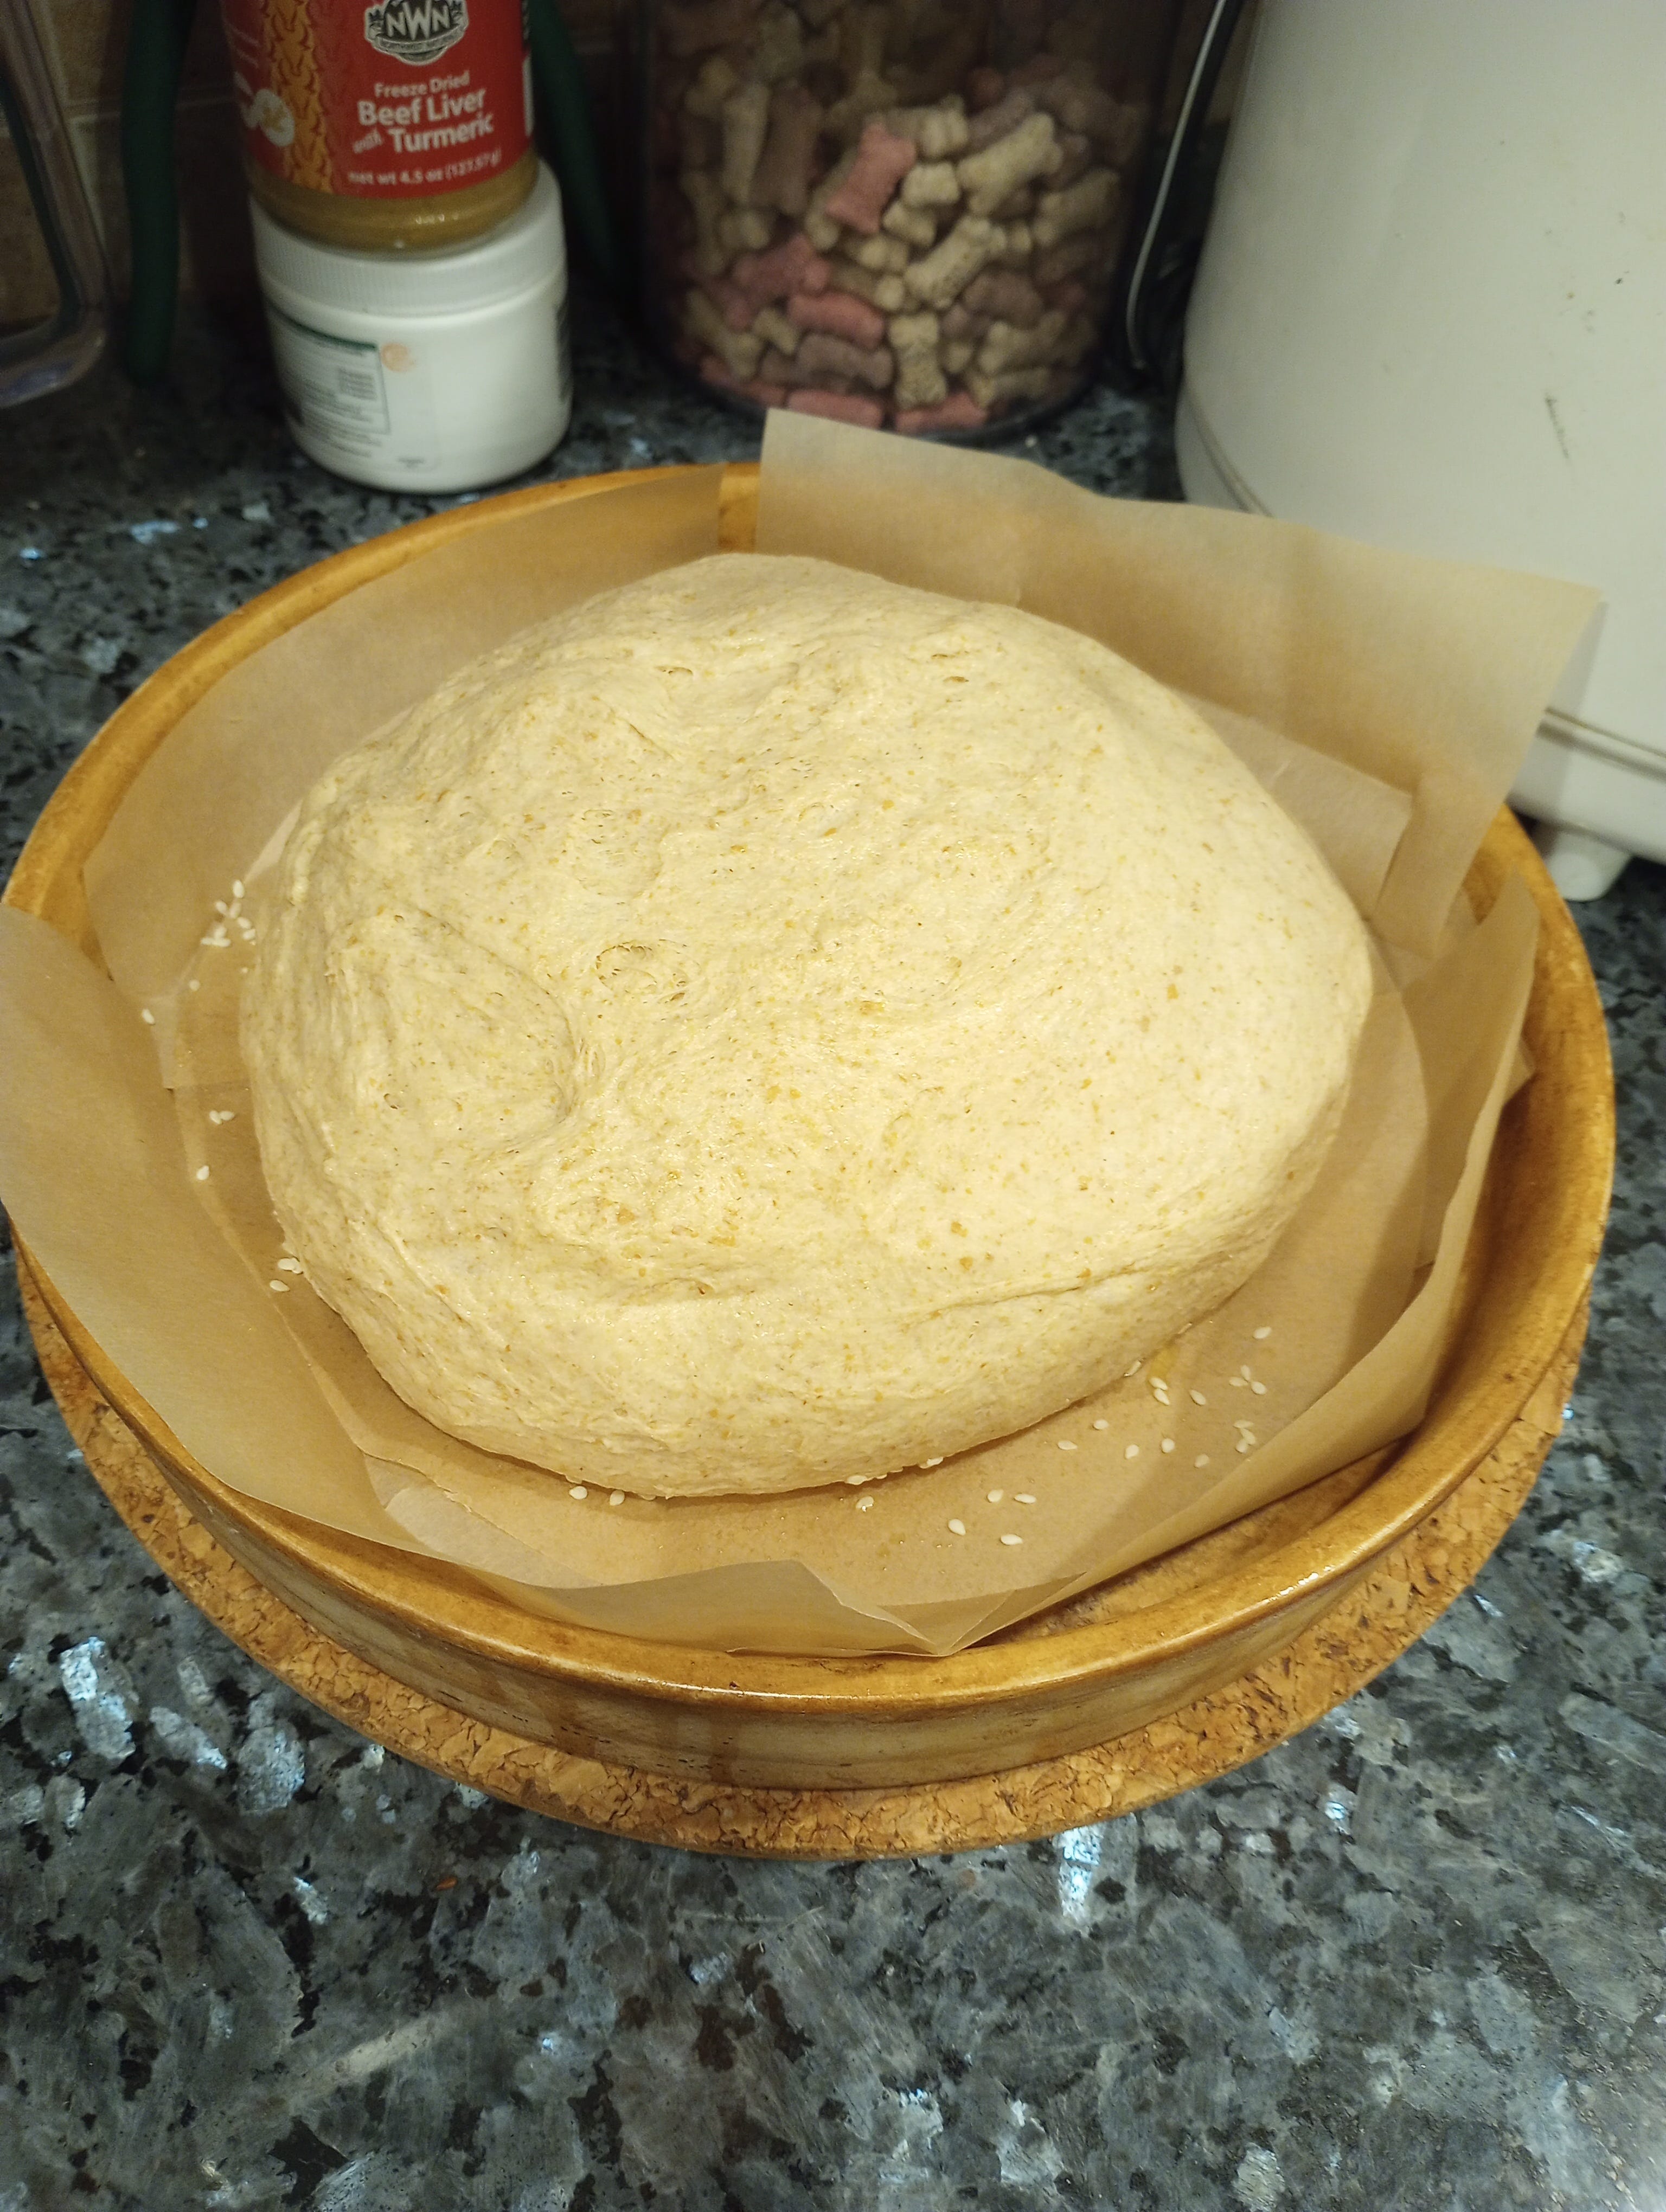
Place the kneaded dough into an oiled bowl and flip it over, so all sides are oiled (Photo #7). Cover it and let it rise until it's about doubled in bulk, about an hour, more or less (Photo #8).
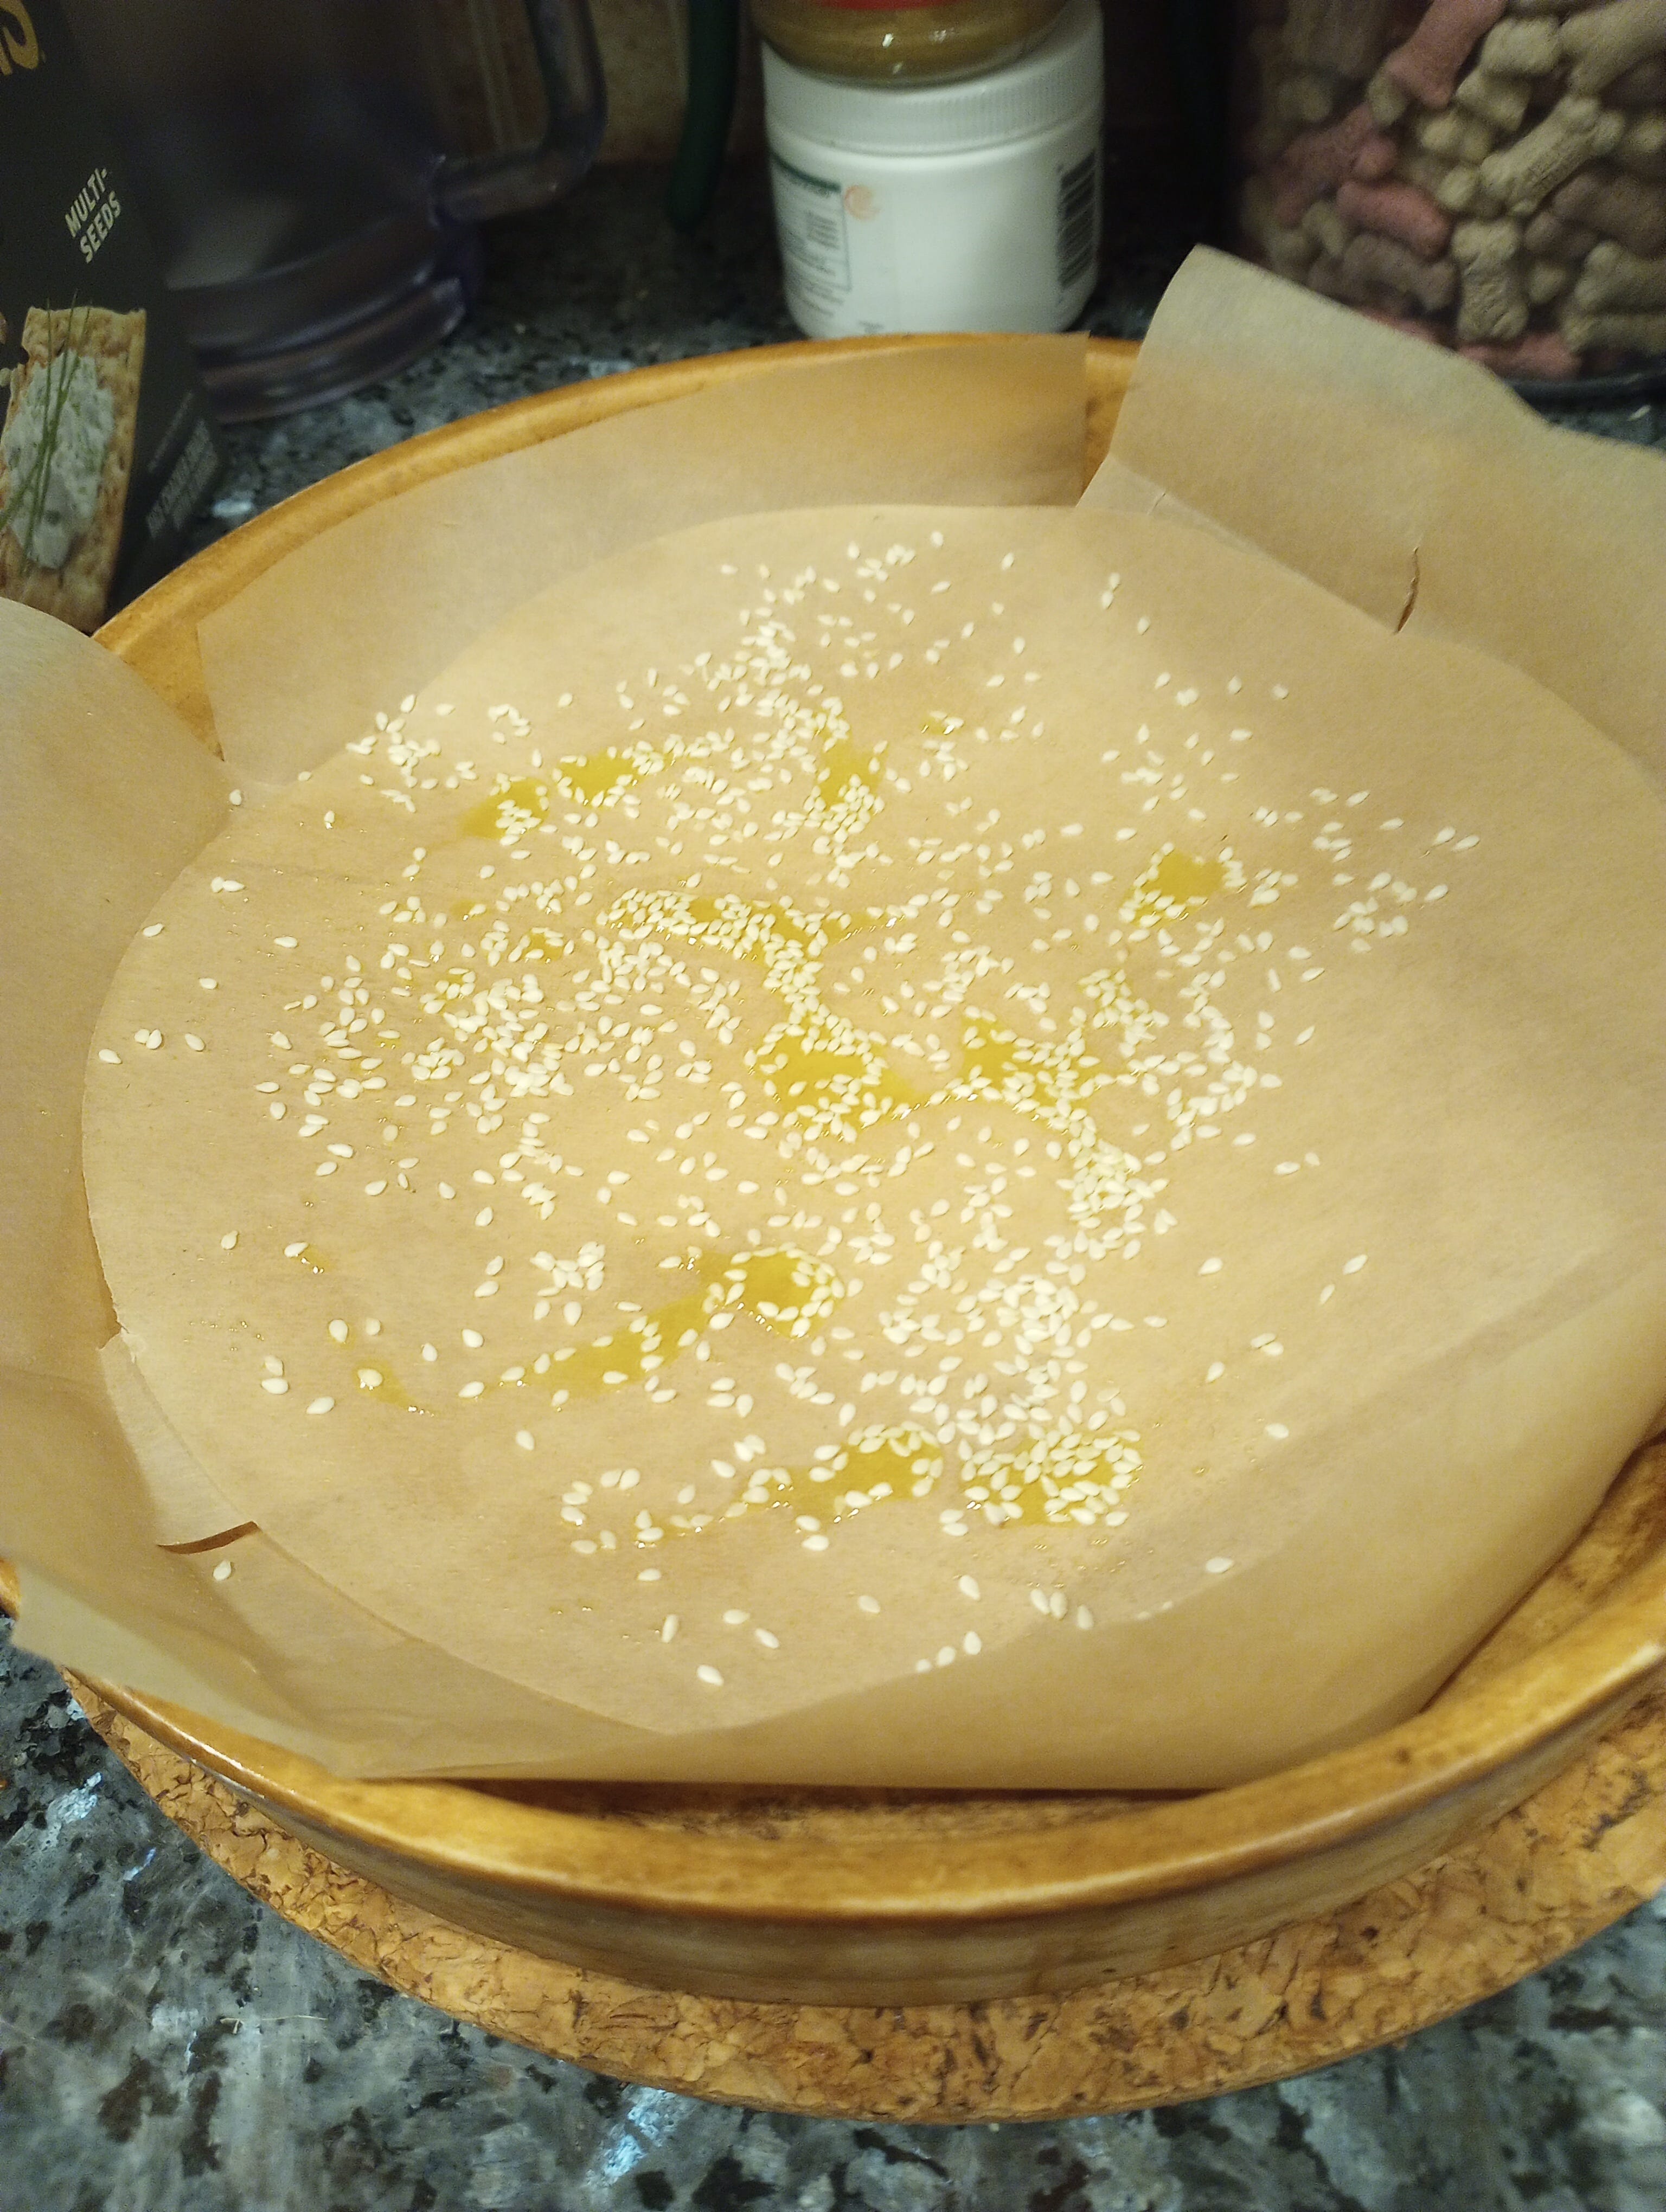
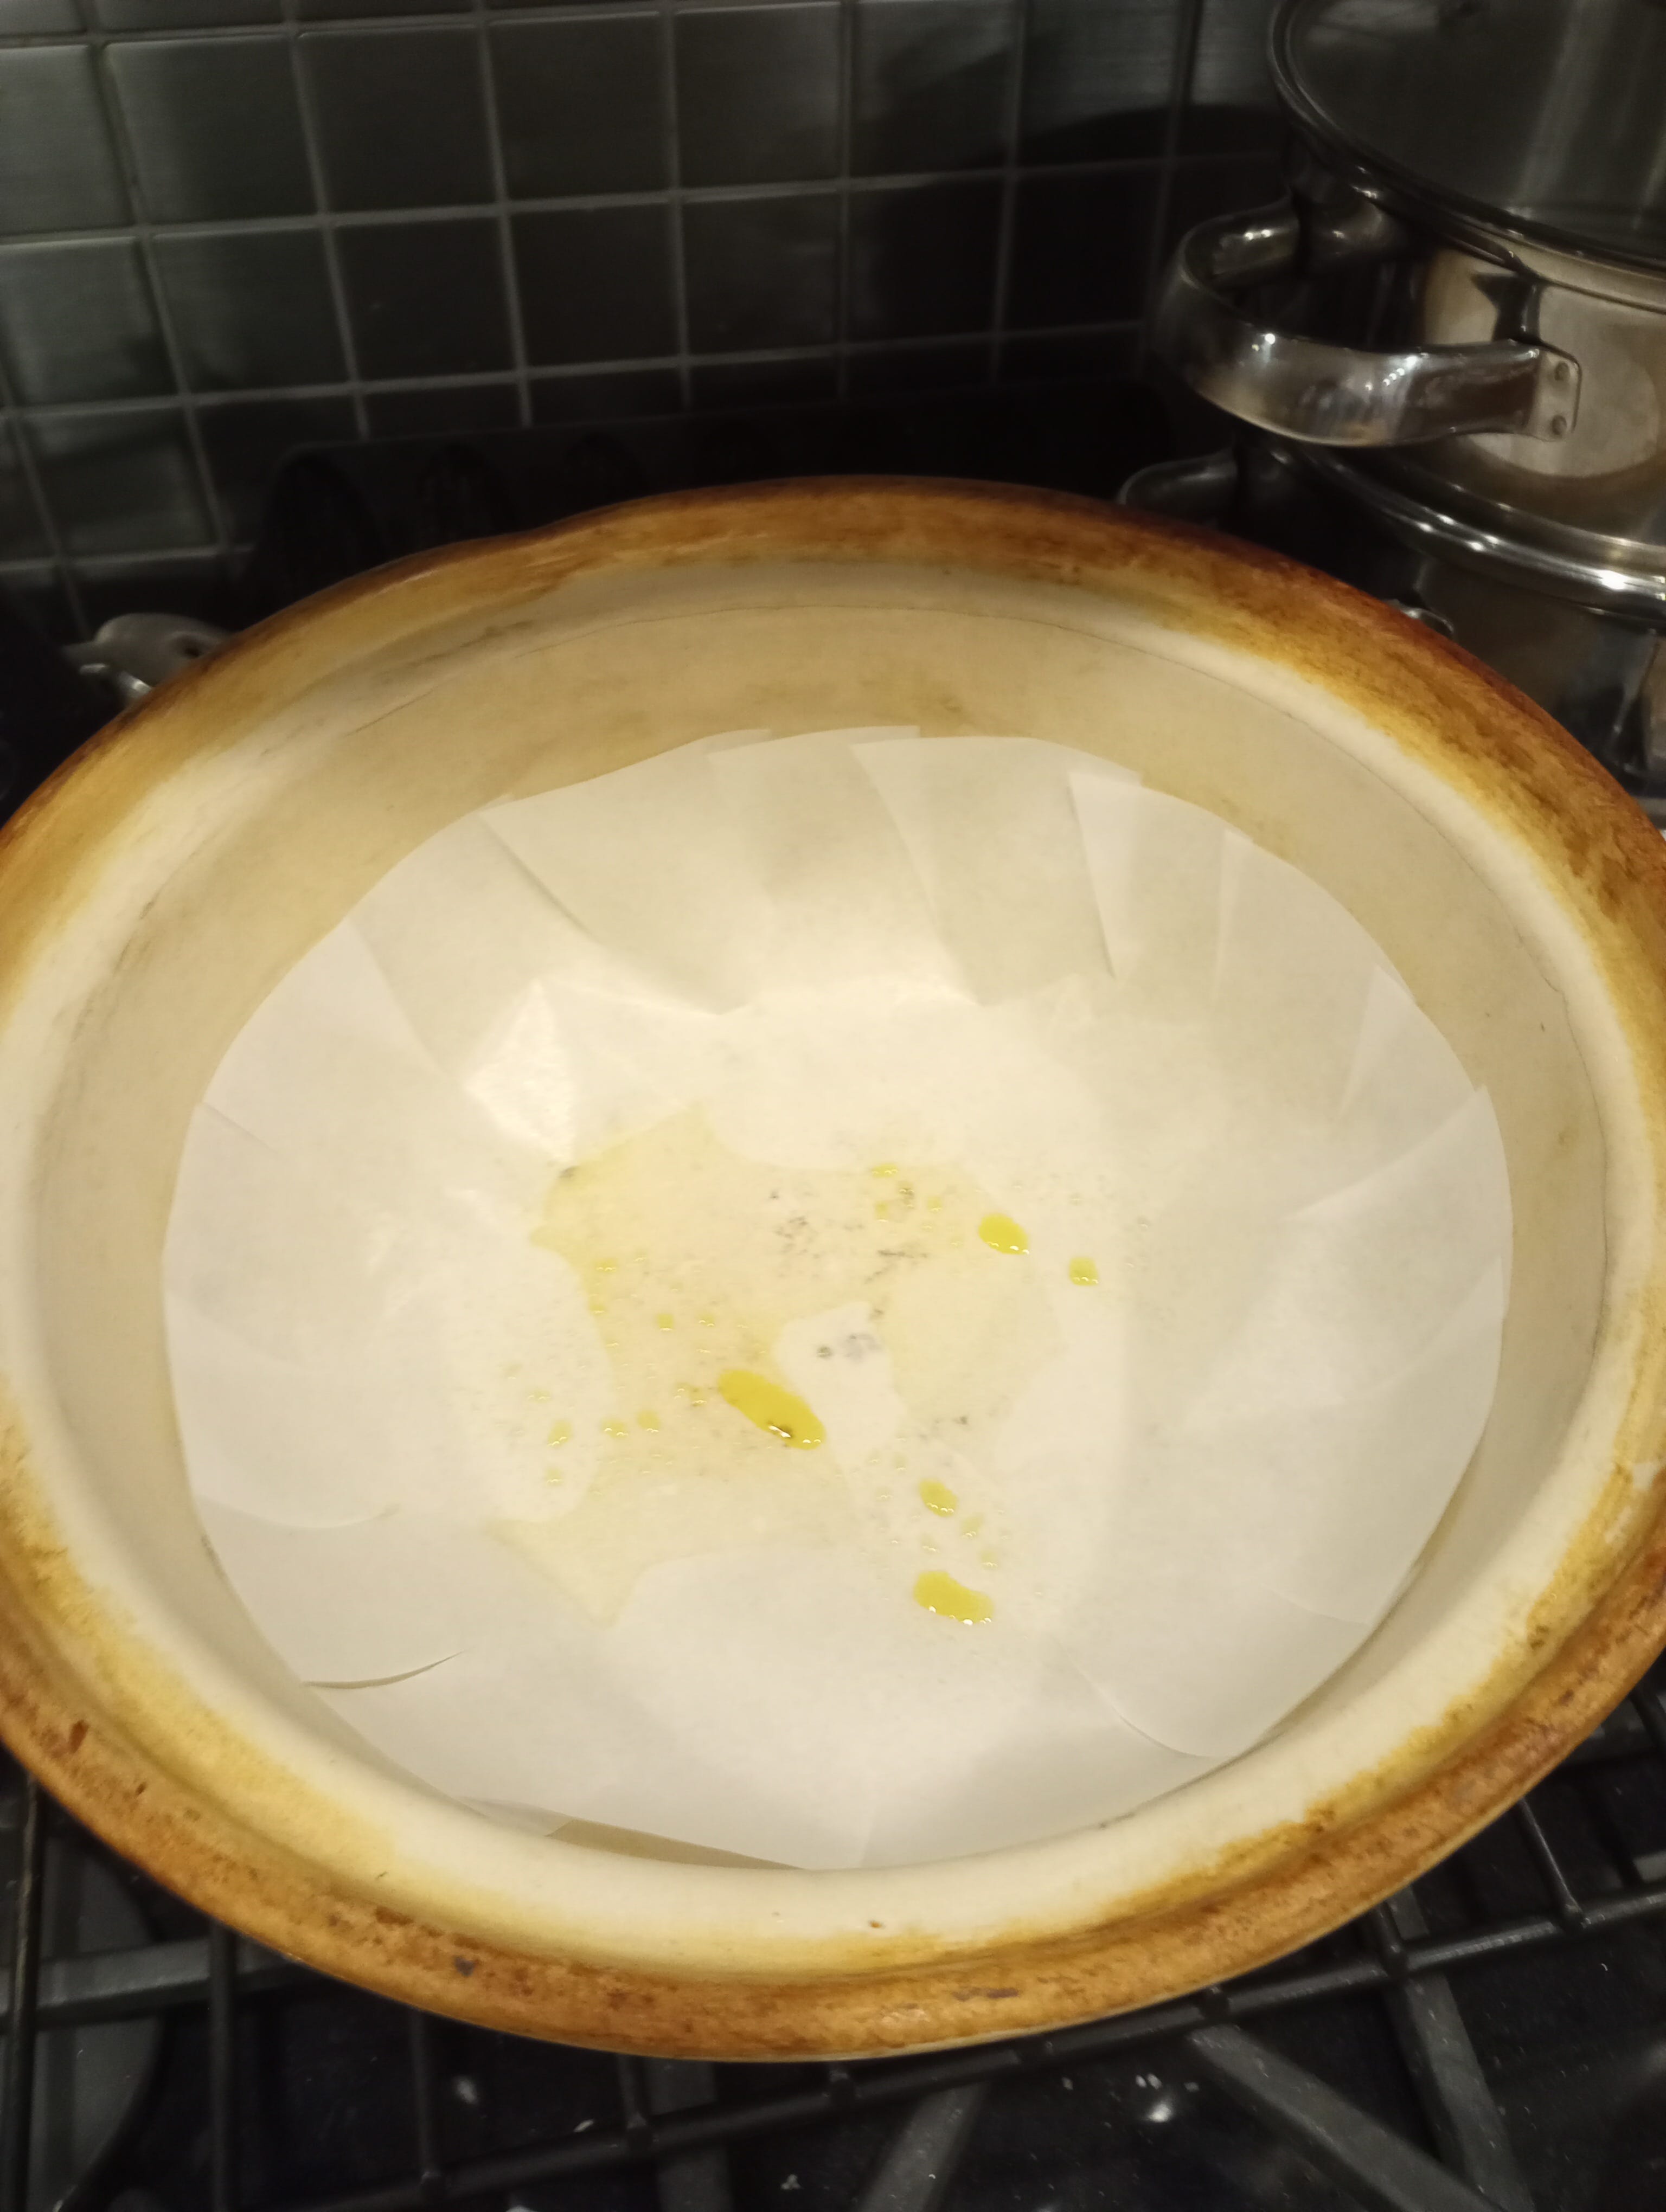
While the dough rises, prepare the pan or cloche or whatever you'll be using for baking. Basically, you need to set it up so the bread doesn't end up stuck to the cloche surface - I've had this happen, and I can tell you that it's VERY disappointing to find that your beautiful loaf of bread is hopelessly welded to the cooking surface. The last time my bread got stuck, my husband literally spent over an hour sandblasting the remnants from the interior surface of the cloche - it's not an experience anyone cares to repeat, so I am now very thorough with the preparation. I line the bottom and sides of the bottom section with parchment paper. Then I spritz the bottom piece of paper with olive oil and sprinkle it with sesame seeds (Photo #9). I also spritz the top of the cloche with olive oil and insert a piece of parchment paper there as well (Photo #10). This might seem like overkill, but if your yeast is feeling especially frisky, you may end up with the top crust of the bread firmly affixed to the inside of the cover (as happened to me!). Sandblasting kitchen equipment is not fun!
After the dough has doubled in size, it is ready for shaping (Photo #8). GENTLY punch it down to get rid of the biggest air pockets and then fold it down on itself several times until you've formed a roundish loaf shape (Photo #11). Try not to handle it too much, lest you turn the finished loaf into a brick. Place the loaf in the cloche and let it rise, covered, for 45 minutes.
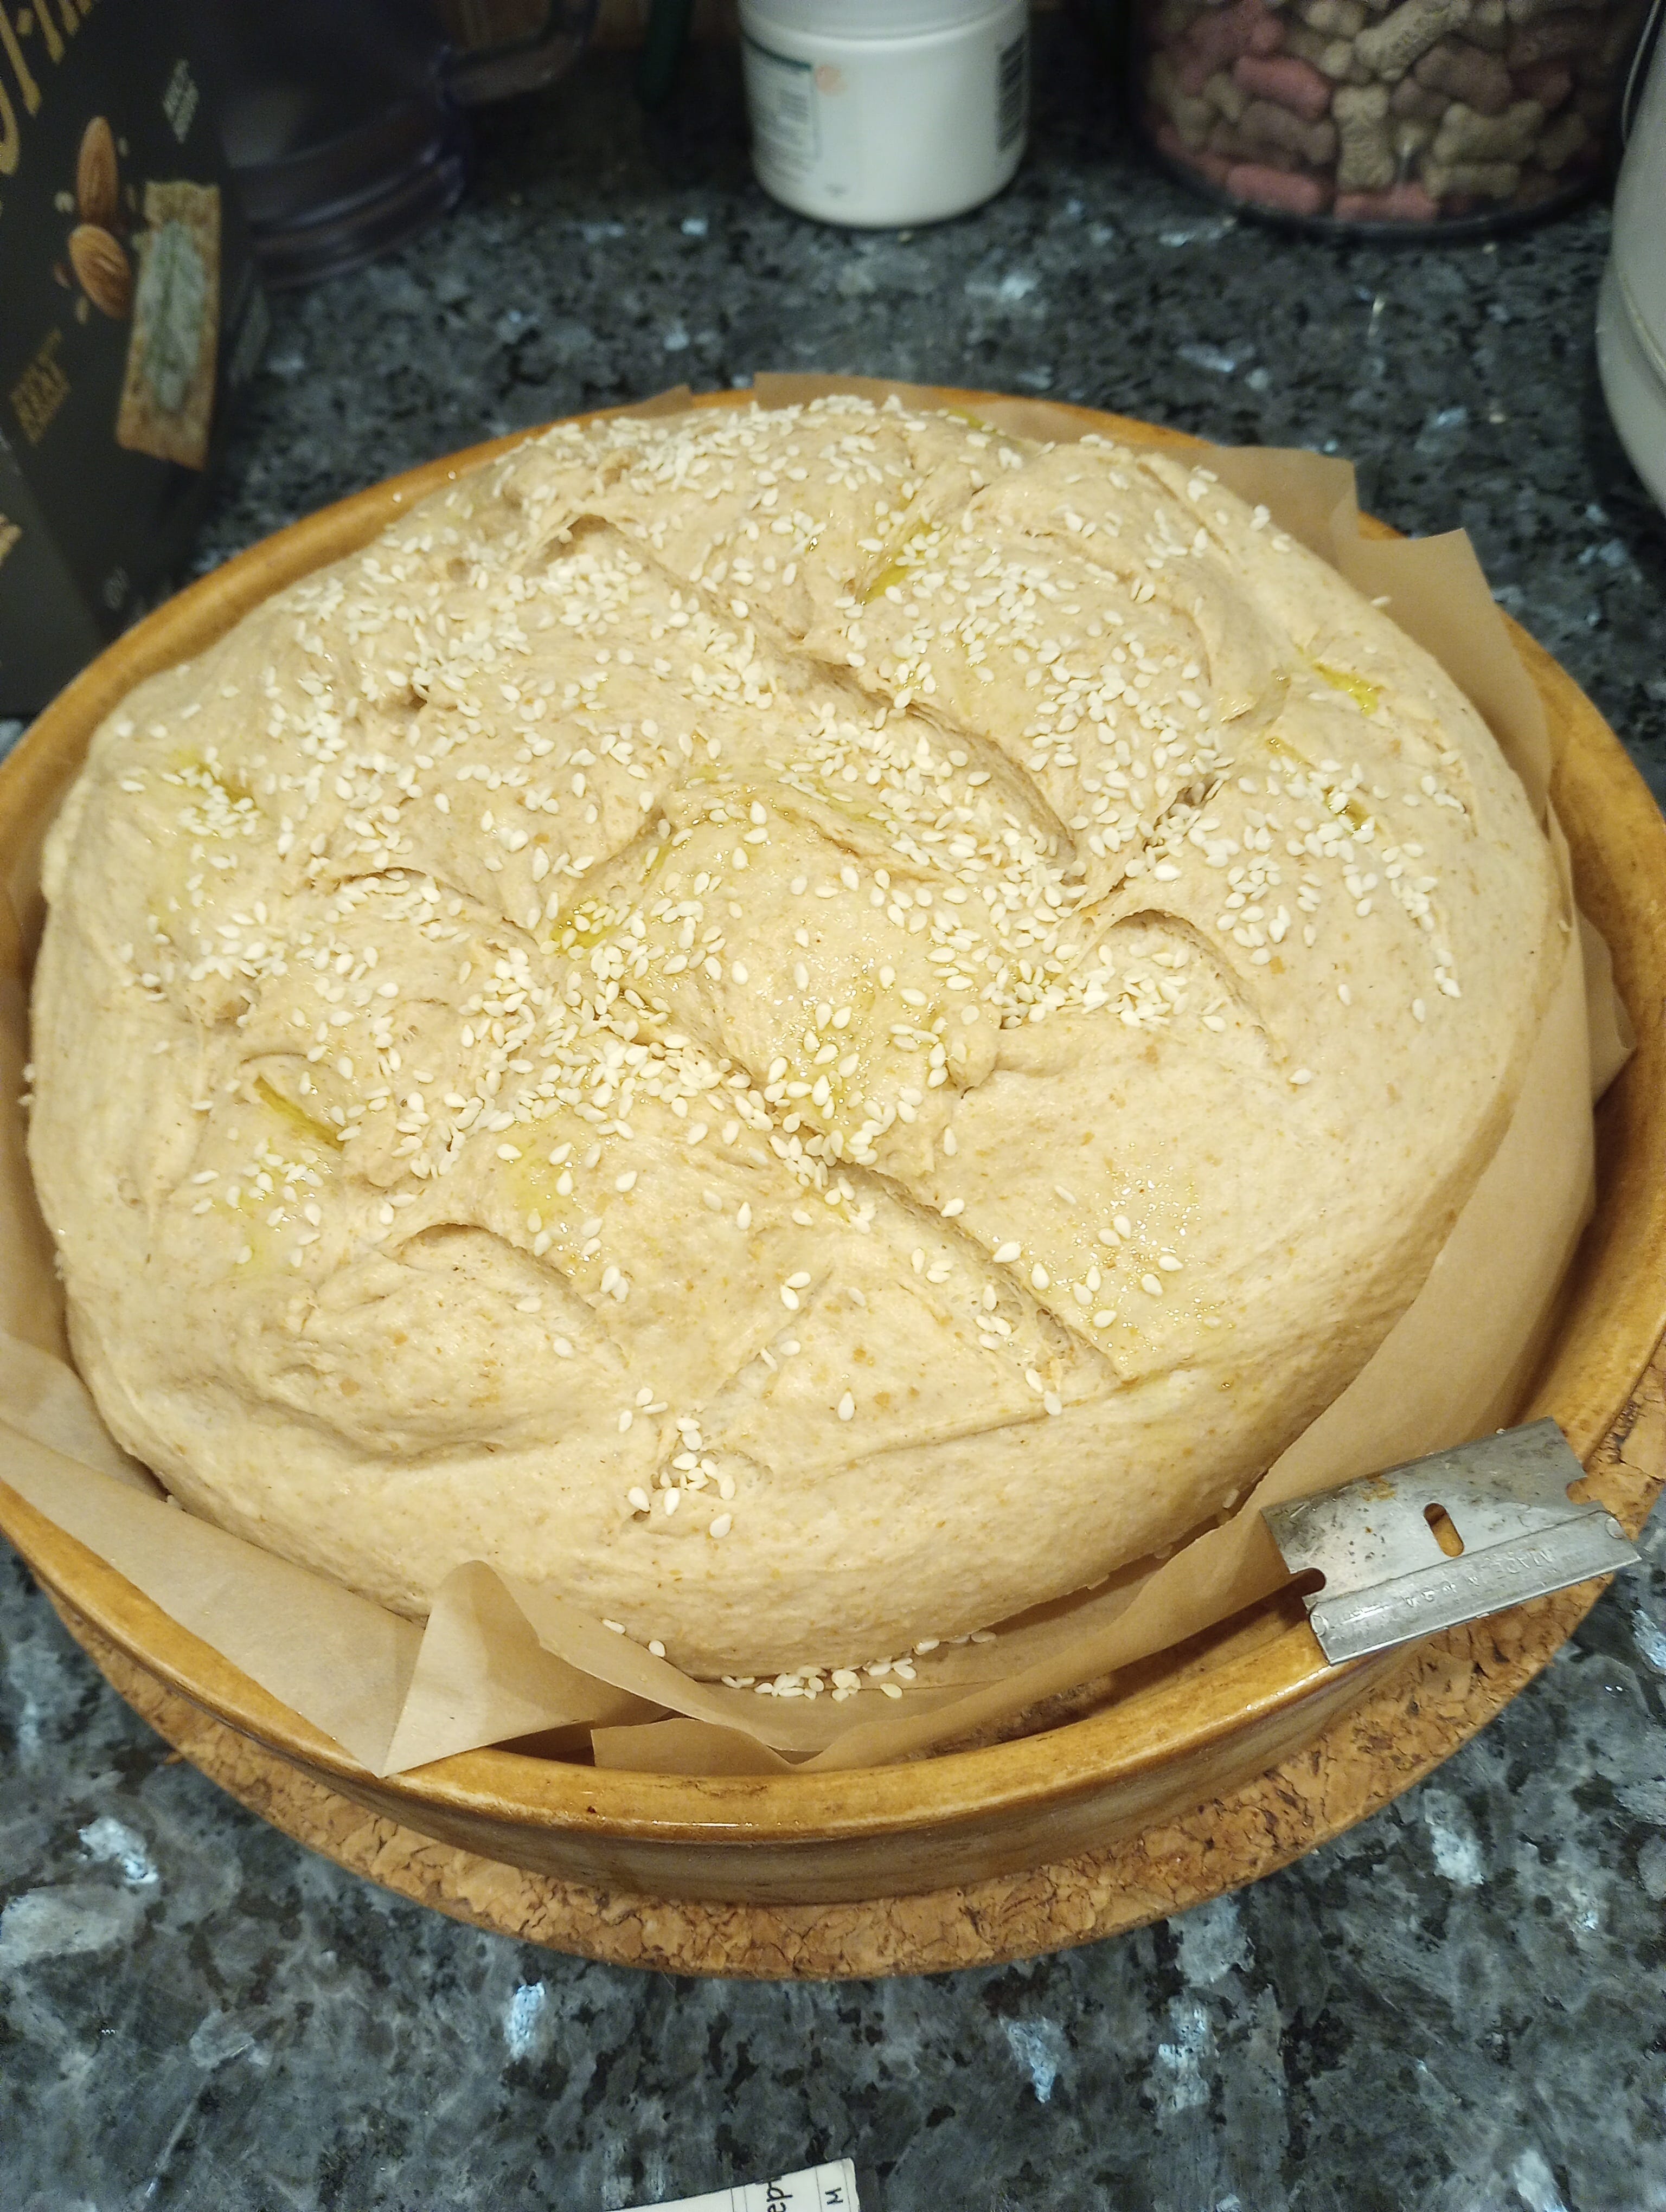
After 45 minutes, begin pre-heating the oven to 425°F. Uncover the bread and use a razor blade to cut several slits in the surface to release steam. Spritz with more olive oil and sprinkle with more sesame seeds (Photo #12). Replace the cover until the oven is preheated.
When the oven is ready, place the covered cloche within for 40 minutes. At this point, remove the cover and continue baking the bread for an additional 10 minutes (this will give it a nicely browned crust).
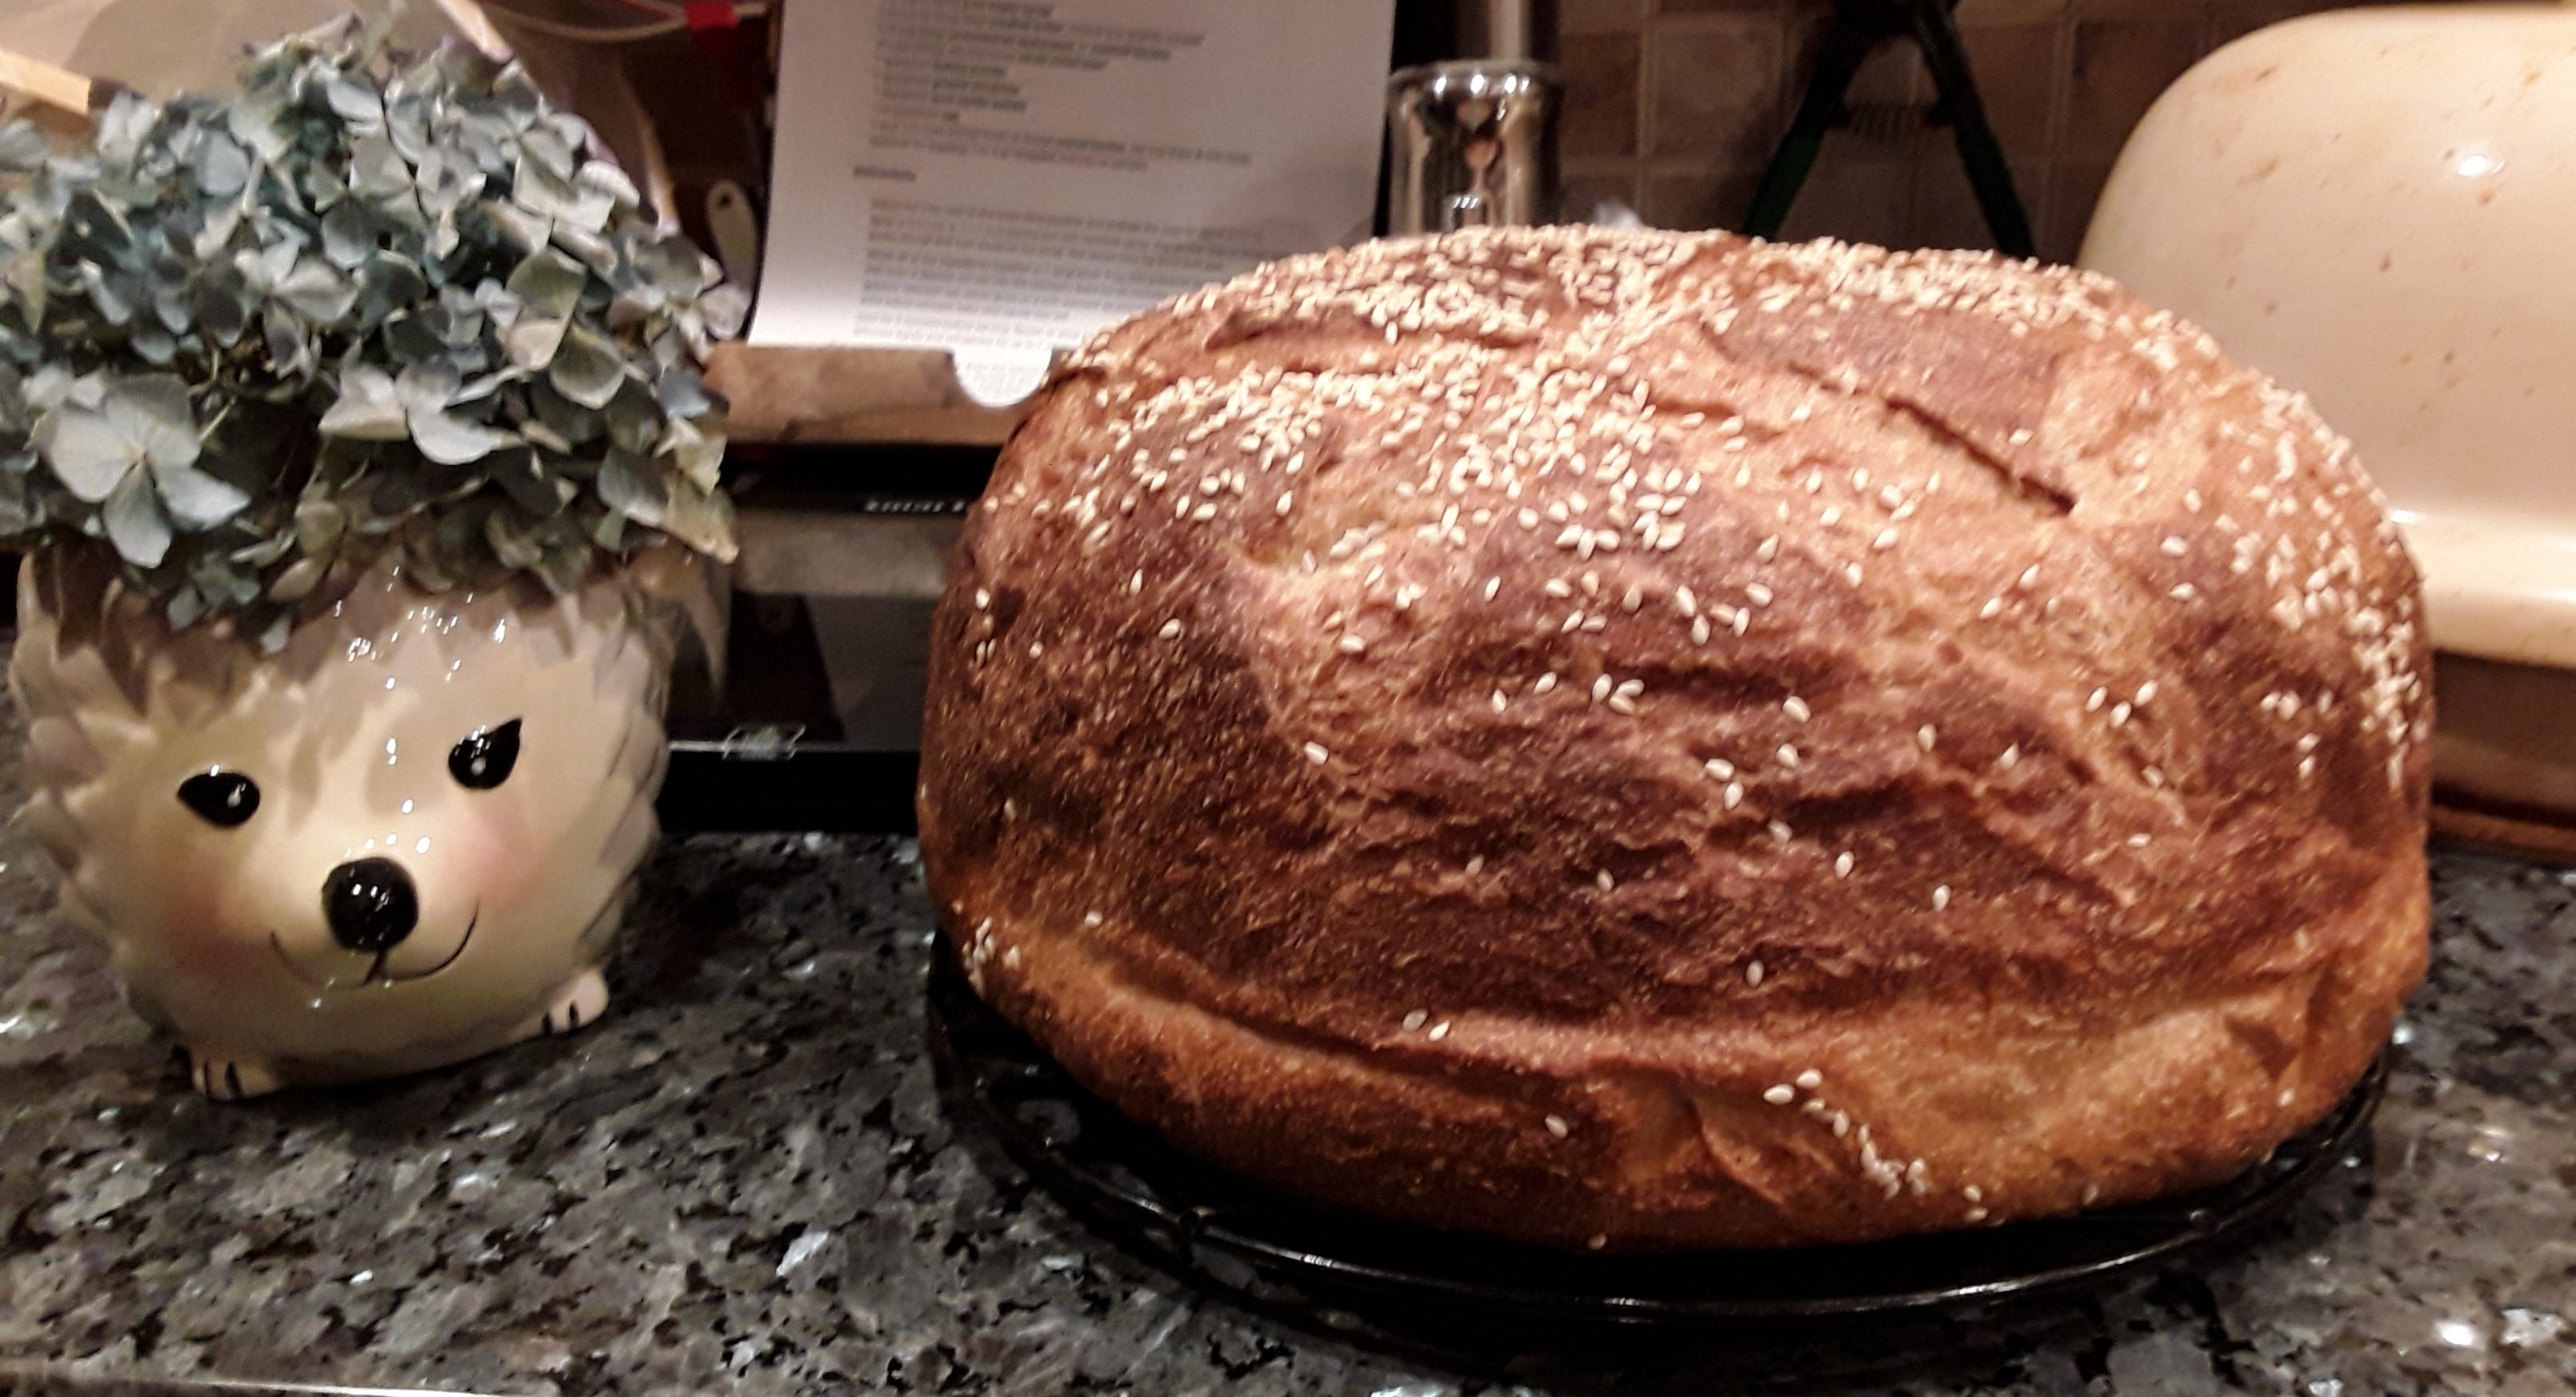
After baking remove the bread from the oven, and allow it to sit in the uncovered cloche for five minutes. Then remove it from the cloche and let it cool on a rack (Photo #13). They say it's best to wait until the bread is completely cooled before cutting off slices - I'll leave that up to you. 😉 The same “they" also say that one shouldn't store bread in the refrigerator. I do, because the lack of preservatives makes this bread prone to molding at room temperature. I've never run into any problems by storing it in this way. This bread makes very nice breakfast toast with a bit of butter melted into it…
Clean-up: The instructions that came with my cloche said that I should never wash it with soap and water, because it's made of porous, unglazed clay. Other than the one unfortunate occasion when it needed to be sandblasted, all I've ever done is to give it a good rubdown after it's cooled enough to touch, just to get rid of the excess oil. As I mentioned earlier, the cloche is a wonderful tool, but if you can't get hold of one, any covered pan should work okay with this recipe. Happy baking!

Feeding sourdough starter: There are lots of complicated instructions and expensive equipment available for keeping your sourdough starter alive, but I don't use any of them. My method is probably not acceptable to sourdough purists, but it's worked to keep my mother-in-law’s old cultures alive for almost six years under my care (though I did somehow manage to kill off the the commercial culture she'd saved - apparently her two homemade cultures were robust enough to survive the clumsy efforts of a rank amateur).
Anyway, my “big secret” is that I keep them in Mason jars in the refrigerator. I alternate between the two cultures, so every two weeks, when I'm ready to make bread, I put one of them on the counter to warm up a bit. I add a cup of BREAD flour to the culture (not necessarily the only option, but it's what these cultures have always been served, and I don't want to jeopardize their health!) and a cup of room temperature water (without chlorine - remember, sourdough culture is made up of lots of tiny microorganisms that can be wiped out by chlorine). Then I scoop out two cups of the culture into a separate bowl, and cover it to use in breadmaking. If the culture in the jar is getting a little low, I'll add more bread flour and water in a one-to-one ratio to get the level in the jar up to about the halfway mark. You DON'T want to fill the storage jar to the top, or you'll risk having the culture bubble out and making a mess. I leave the cover slightly askew to allow a bit of air circulation and leave the jar on the counter for a few more hours until I see a lot of bubbles in it (the bubbles are formed by growing the yeast expelling gas). At that point, I tighten the cover back up and pop the culture back into the ‘fridge until the next time it’s needed.
You may have noticed other recipes advising you to feed the culture and discard whatever you don't use. I don’t use the discard method because it seems wasteful. So far, the refrigerator method seems to be working out okay.
If you have any questions or comments about this recipe or about sourdough in general, feel free to speak up below. Though I must warn you, I’m definitely not an expert! Have fun in your kitchen!
I have a child with celiac, which ended my bread baking 15 years ago. However, the new GF blends are giving me hope that I can start making sourdough again. I have an active starter (5 days) and tonight used discard to make naan. Oh happy day!
You sure are right about people making bread during COVID. We never did but lots of people we know did. Your father-in-law is fortunate to have you. When I saw your photo of your robot and noted the labeling it reminded me of one of the best Far Side cartoons ever. https://www.pinterest.com/pin/71494712825739649/